Analog Way Di-VentiX - DVX8022 Manuel d'utilisation
Page 8
Chapter 1 : INTRODUCTION (continued)
Di-VentiX™
PAGE 8
1-3. REFERENCES
MODELS &
OPTIONS
DESIGNATIONS
DVX8022 Di-VentiX.
OPT-iX-A
Optional AUDIO input/output.
CBD-UP CROSS
BLENDER
™
. Optional version for "Edge blending" application.
1-4. OPTIONAL ACCESSORIES
REFERENCES
DESIGNATIONS
RK8022 Remote
keypad.
RK8022-T
Remote keypad with T-BAR.
TRC8022
Remote console. Allows to control up to 3 iX Range devices.
SWM-OE
Remote control Software. Allows to control up to 16 to iX Range devices.
1-5. Di-VentiX INSTALLATION
IMPORTANT: Please read all of the safety instructions (pages 4 to 6) before starting.
• Table top mounting: The device can be used directly on a table: the unit is equipped with 4 plastic feet.
• Rack mounting:
The device is compatible with a 19” enclosure. Please follow the instructions below to install the
device in a 19” rack.
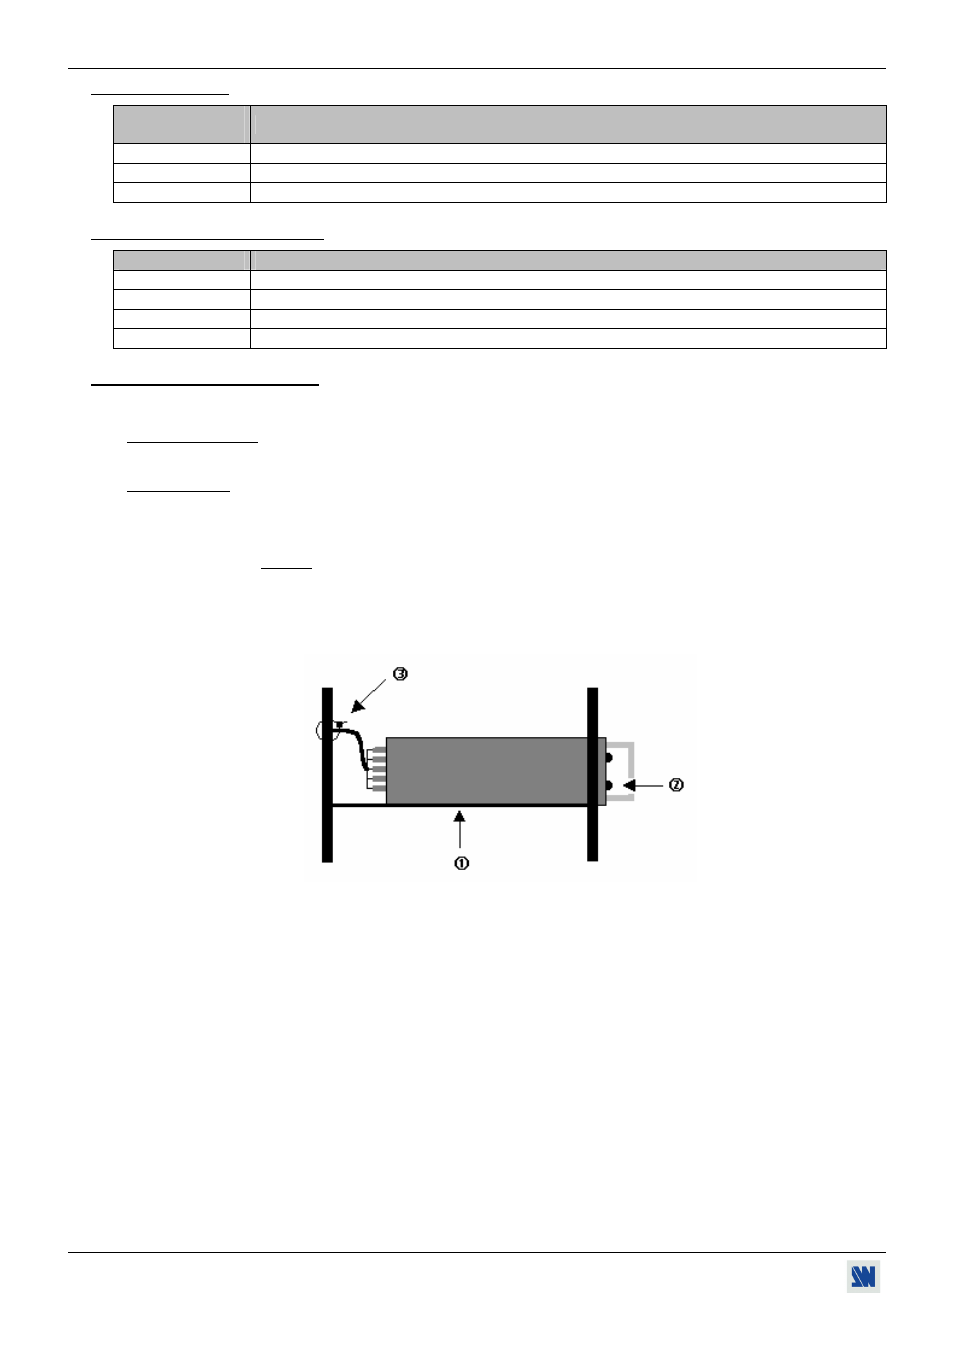
Place the device in your rack.
NOTE: Your rack must be equipped with some braces.
Attach the device to the rack by using 4 screws in the front panel holes (screws are not
included).
Connect all of the cables of the device and attach them to the rack with some tie wraps.
Figure 1
IMPORTANT: - The openings in the side and in the rear panel are for cooling. Do not cover these openings.
- Be sure that no weight in excess of 2 kg (4.4 Lbs.) is added onto the Di-VentiX.
- The maximum ambient operating temperature must not exceed 40 °C (104 °F).
- The rack and all mounted equipment in it must be reliably grounded to national and local
electrical codes.