K sample setup – Casio FX-CG10 Manuel d'utilisation
Page 557
20100801
20100801
ε
-11
Using Advanced Setup
Note
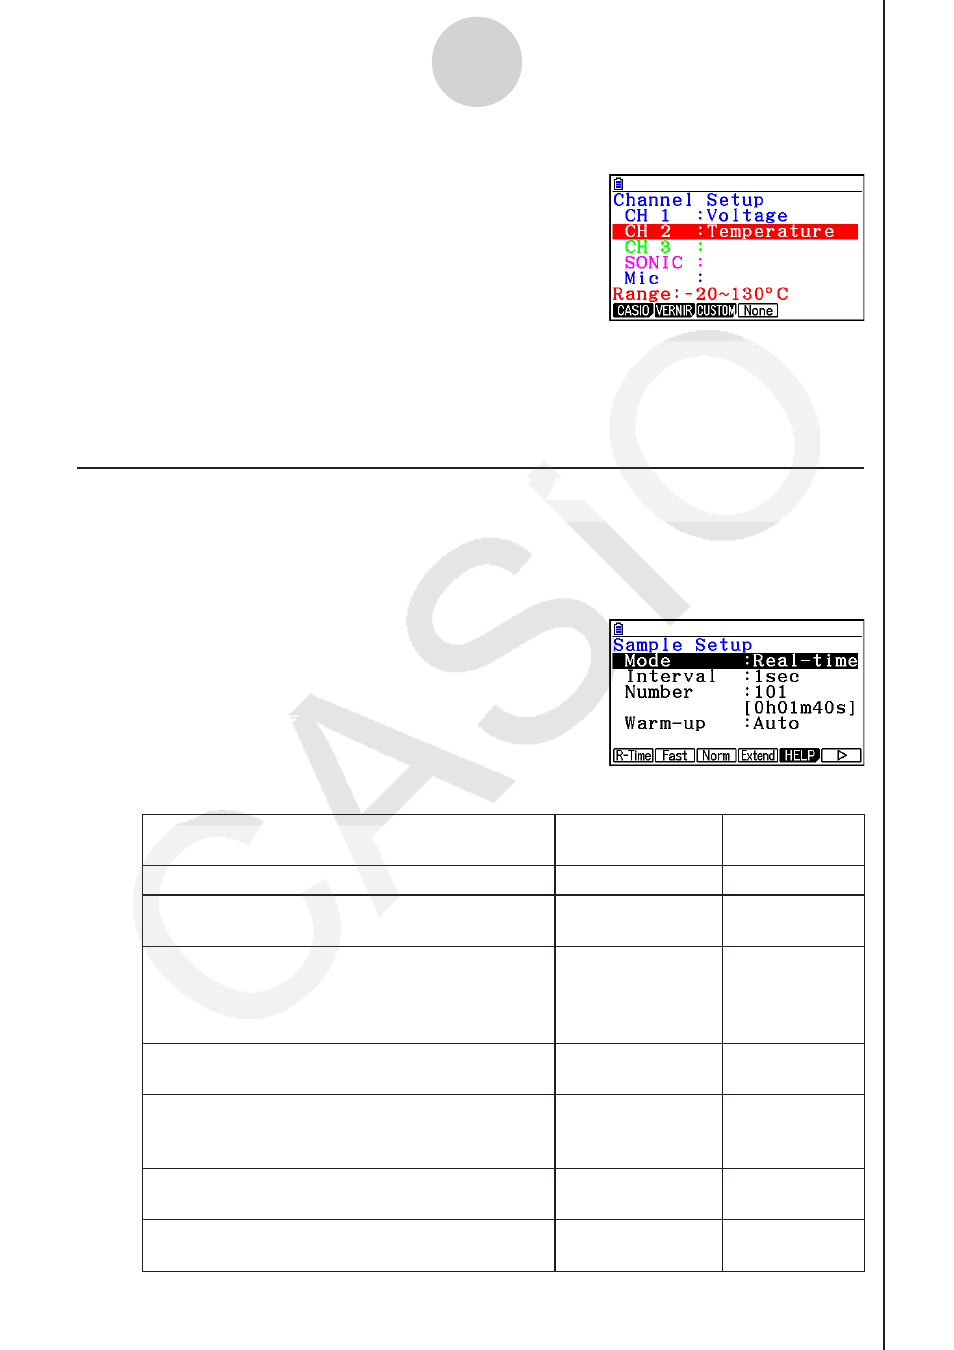
• When you select a channel on the Channel Setup
screen, the sampling range of the selected channel
appears in the bottom line of the screen.
In the above example, the range of the temperature sensor assigned to CH2 appears on
the display.
If the sampling range value is too long to fit on the display, only the part of the value that
fits on the display will be shown.
k Sample Setup
The Sample Setup screen lets you configure a number of settings that control sampling.
• To configure Sample Setup settings
1. While the Advanced Setup menu (page
ε
-8) is on the display, press c(Sample).
• This displays the Sample Setup screen, with the
“Mode” line highlighted, which indicates that you can
select the sampling mode.
2. Select the sampling mode that suits the type of sampling you want to perform.
To do this:
Press this key:
To select this
mode:
Graph data in real-time as it is sampled
1(R-Time)
Real-time
Perform sampling of high-speed phenomena
(sound, etc.)
2(Fast)
Fast
Perform sampling over a long time (weather,
etc.)
• The EA-200 enters a power off sleep state
while standing by.
4(Extend)
Extended
Sample sound using the EA-200’s built-in
microphone
6(g)1(Sound) Sound
Record the time of the occurrence of a particular
trigger event as an absolute value starting from
0, which is the sampling start time
6(g)2(Clock)
Clock
Perform periodic sampling, from a start trigger
event to an end trigger event
6(g)3(Period) Period
Perform sampling other than that described
above
3(Norm)
Normal