Installation, Chapter 2 : installation – Analog Way Graphic Switcher II - GSW2811 Manuel d'utilisation
Page 6
GRAPHIC SWITCHER II™
PAGE 6
Chapter 2 : INSTALLATION
IMPORTANT: Please read all of the safety instructions (pages 2 to 4) before starting.
• Table top mounting: The GRAPHIC SWITCHER II
™
can be used directly on a table: the unit is equipped with 4 plastic
feet.
• Rack mounting:
The GRAPHIC SWITCHER II
™
is compatible with a 19” enclosure. Please follow the instructions
below to install the GRAPHIC SWITCHER II
™
in a 19” rack.
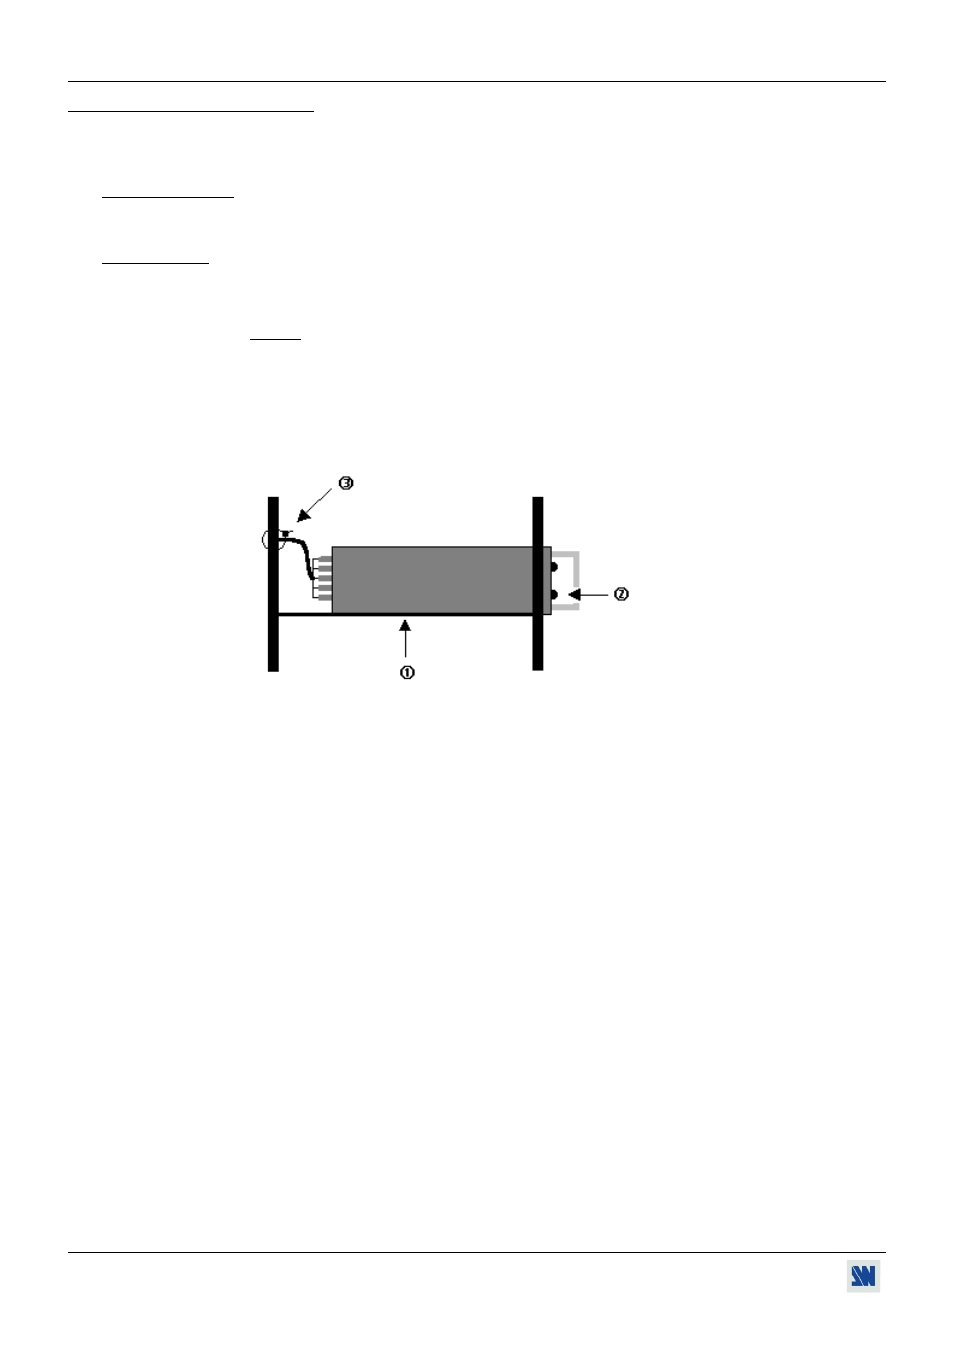
c Place the GRAPHIC SWITCHER II
™
in your rack.
NOTE: Your rack must be equipped with some braces.
d Attach the GRAPHIC SWITCHER II
™
to the rack by using 4 screws in the front panel holes
(screws are not included).
e Connect all of the cables of the GRAPHIC SWITCHER II
™
and attach them to the rack with
some tie wraps.
IMPORTANT:
- The openings in the front and in the rear panels are for cooling. Do not cover these
openings.
- Be sure that no weight in excess of 2 kg (4.4 Lbs.) is added onto the GRAPHIC
SWITCHER II
™
.
- The maximum ambient operating temperature must not exceed 40 °C (104 °F).
- The rack and all mounted equipment in it must be reliably grounded to national and local
electrical codes.