Analog Way CentriX - CTX8022 Manuel d'utilisation
Page 41
CENTRIX™ & EVENTIX™
Chapter 5 : USING FRAME STORE AND LOGO INSERTION (continued)
PAGE 41
5-3. USING LOGO INSERTION WITH THE REMOTE KEYPAD OR EVENTIX
™
This function allows storing up to 8 logos in order to incrust them into the displayed image (up to 2 logos at a same time).
IMPORTANT: The output format used when displaying logo should be the same that the output format used during the
logo storing.
5-3-1. HOW TO STORE A LOGO
c Select the source of the logo to be stored (with the INPUT SELECTION buttons).
d Select the MAIN or PREVIEW record logo mode (LOGOS/FRAME > record logo > MAIN or PREVIEW):
the device displays a white rectangle corresponding to the logo selection area onto the output. Then adjust the
position and size of the logo selection area with the LCD record logo menu functions.
NOTE: The logo area is limited to an eighth (1/8) of the displayed area.
e If necessary, adjust the luma key level (LOGOS/FRAME > record logo > MAIN or PREVIEW > luma key
level). This function allows to "erasing" the darkest portions of the logo selection area in order to make special logo
contour. Otherwise set the luma key level to zero.
NOTE: You can change the color of the "erased portions" of the logo (LOGOS/FRAME > record logo > back.
color).
f Store the logo into a memory (LOGOS/FRAME > record logo > MAIN or PREVIEW > store > empty or logo
x). The memorization of the logo starts and will take about few seconds.
NOTE: Renew the steps c to f to store another logo (up to 8).
5-3-2. HOW TO ASSIGN A LOGO
NOTE: You can assign the stored logos to one or many of the 8 inputs (up to 2 logos by inputs).
g In the assignment menu (LOGOS/FRAME > use logo/frame > assignment), select the displayed input (MAIN or
PREVIEW) that you want to assign a logo, then select an index (1 or 2) and finally select the needed logo.
NOTE: To remove a logo from an input, select the corresponding input & index and select none.
NOTE: To assign the same logo to all inputs select ALL (instead MAIN or PREVIEW).
h With the INPUT SELECTION buttons, display successively all your inputs to verify your logo assignment. If no
logo appears on an input: verify that the LCD display function of the corresponding input is not set to the OFF
position. In this case press ENTER to set it to the ON position (See how to display OFF or ON a logo).
5-3-3. HOW TO DISPLAY OFF or ON A LOGO
i To display OFF or ON the assigned logos of an input, select the MAIN or PREVIEW displayed input in the display
menu (LOGOS/FRAME > use logo/frame > display > MAIN or PREVIEW) and press ENTER to change the
status (ON or OFF).
NOTE: When displaying ON or OFF a logo, this one appears/disappears with a fade effect. You can adjust the
duration of this fade effect (LOGOS/FRAME > use logo/frame > fade duration).
5-3-4. HOW TO ADJUST THE LOGO POSITION
j Press the MAIN / OUTPUT 1 key or the PREVIEW / OUTPUT 2 key.
k Press the LOGO position key. Then adjust the logo position with the H &V position functions.
NOTE: When you are using 2 logos by input, make sure to not superpose a logo onto an other one. In case of
superposition, the logo areas will appear colored.
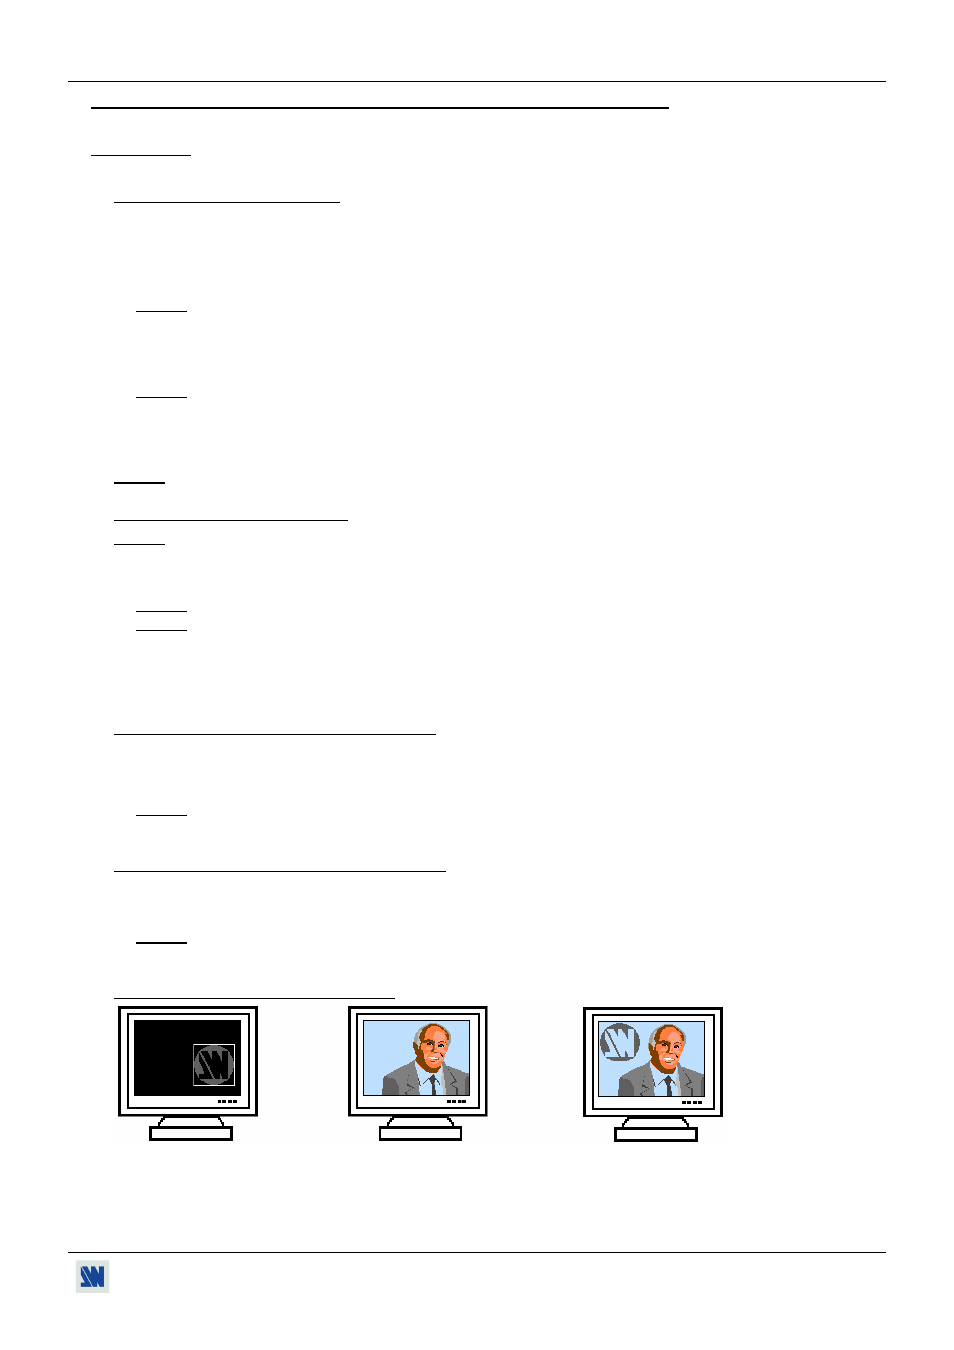
5-3-5. EXAMPLE OF LOGO INSERTION
Figure 37
Logo
source
Video source
Video source with inserted logo.
(white border = logo area)
(logo made with luma key)