Panasonic PT-LB51SU Manuel d'utilisation
Operating instructions, Lcd projector, Commercial use
Advertising
E
NGLISH
Operating Instructions
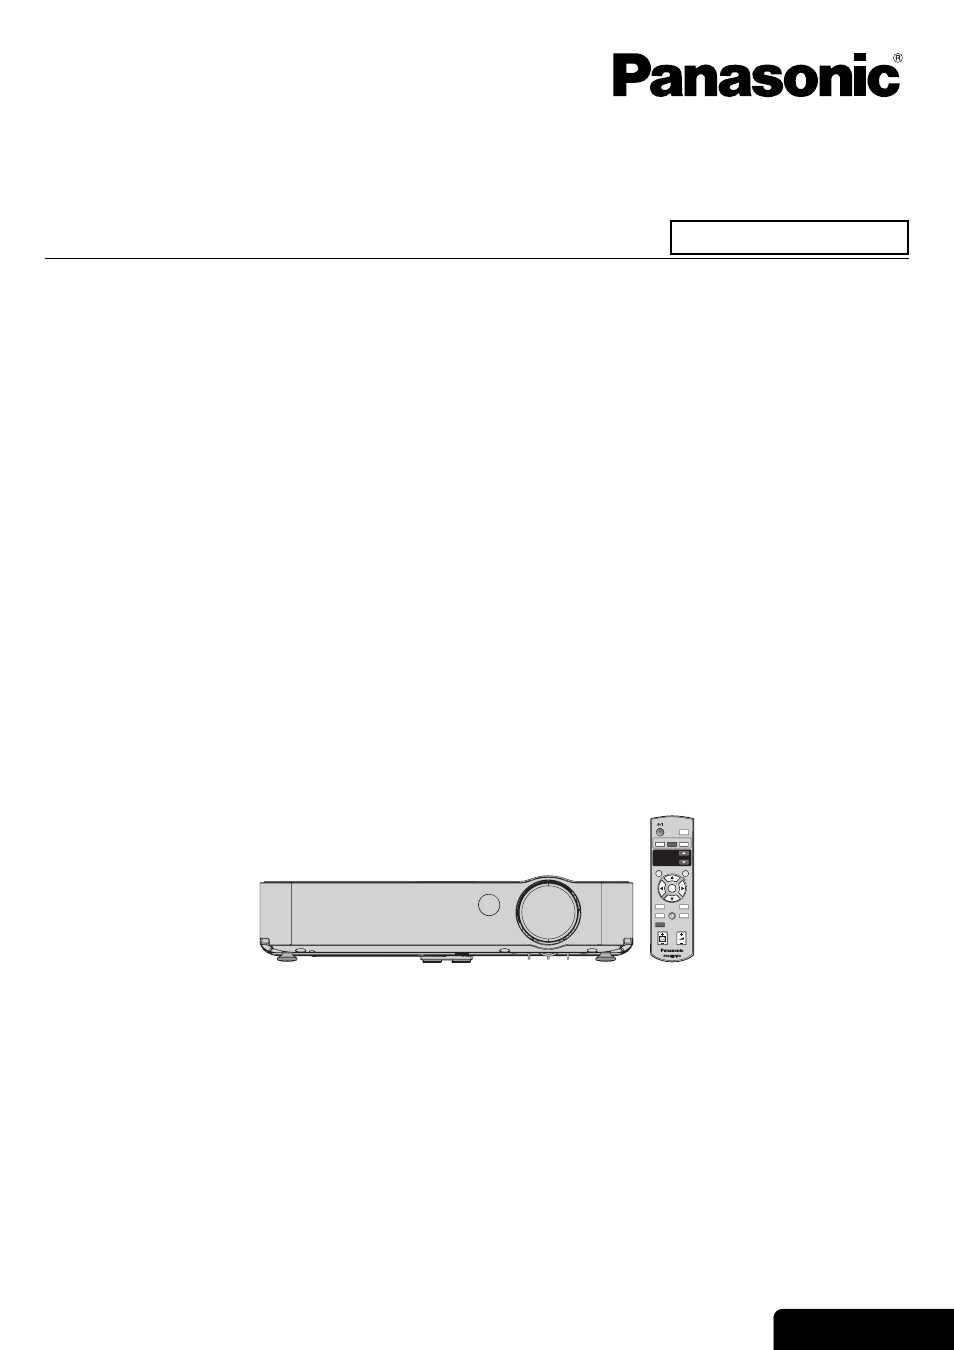
LCD Projector
Model No.
PT-LB51NTU
PT-LB51U
PT-LB51SU
Before operating this product, please read the instructions carefully and save this manual for future use.
TQBJ0228-3
Commercial Use
AUTO
SETUP
INPUT
SELECT
COMPUTER WIRELESS
VIDEO
WIRELESS
PRESENTATION
PAGE
MENU
ENTER
FREEZE
SHUTTER
COMPUTER
SEARCH
DEFAULT
INDEX-
WINDOW
MULTI-LIVE
DIGITAL ZOOM
VOLUME
RETURN
Advertising
Table des MATIÈRES
Document Outline
- Important Safety Notice
- Contents
- Precautions with regard to safety
- About Your Projector
- Setting up
- Connections
- Switching the projector on/off
- Projecting an image
- Remote control operation
- Menu Navigation
- PICTURE menu
- POSITION menu
- LANGUAGE menu
- OPTION menu
- SECURITY menu
- WIRELESS menu (PT-LB51NTU only)
- TEMP, LAMP Indicators
- Care and Replacement
- Troubleshooting
- Technical Information
- Index
- Avis important concernant la sécurité
- Précautions de sécurité
- Remplacement de l'unité de la lampe