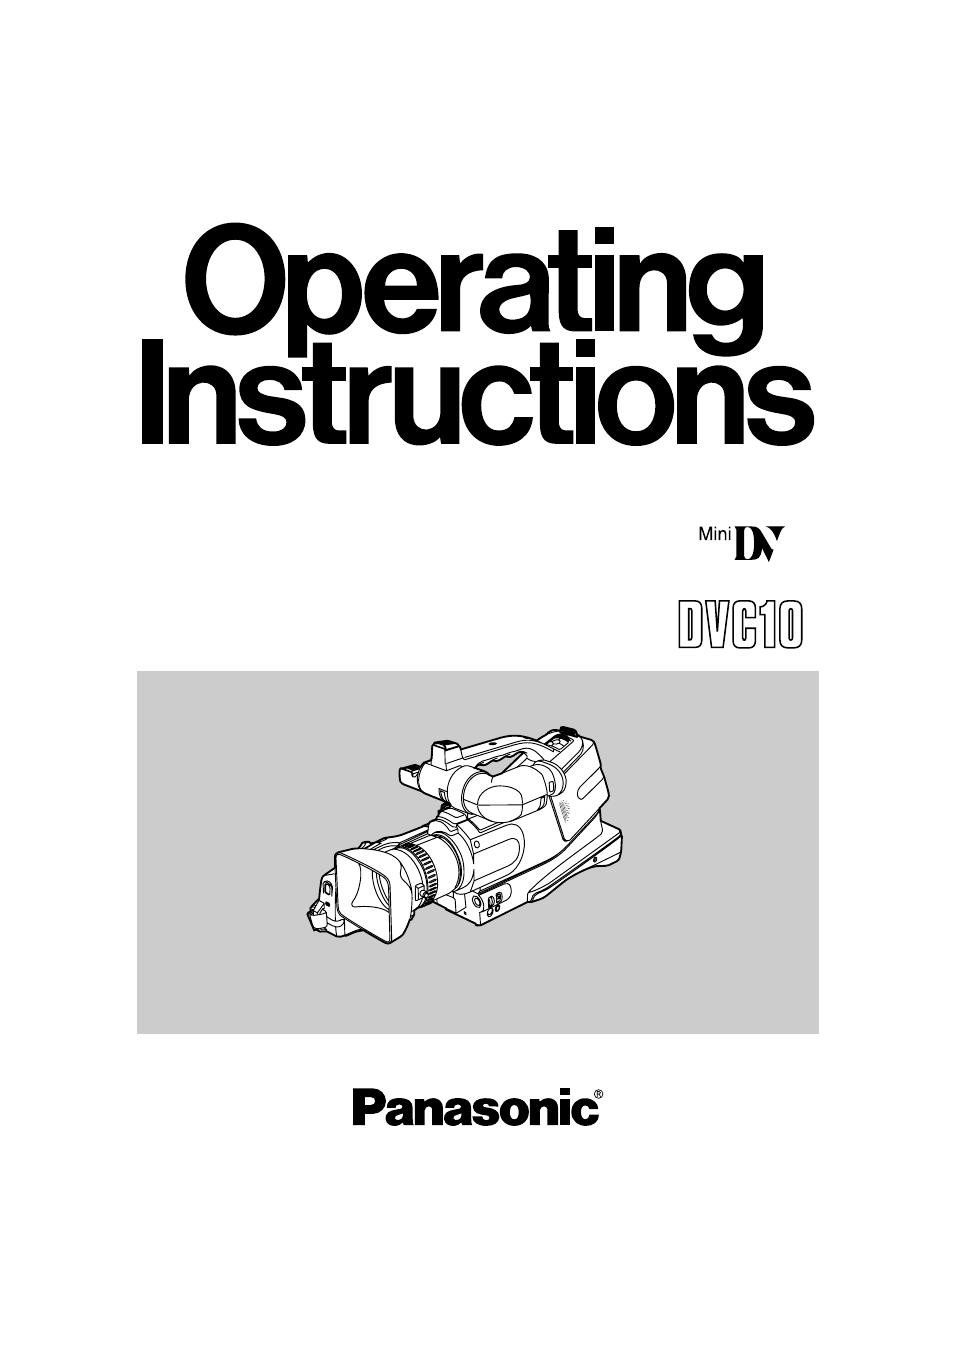
Recording, Enregistrement – Panasonic AG-DVC10 Manuel d'utilisation

Page 17

Advertising
background image

FRANÇAIS

ENGLISH

OF

F —

POWER

ON

2

1,4

2,3

CAMERA

VCR

3

4

REC

RECORD

PAUSE

PAUSE

MANUAL

AUTO

AE LOCK

5

1

Recording

When the Mode Selector is set to [AUTO]

1, you can

simply turn on the Camera Recorder and press the
Start/Stop Button to start recording, and the focus and
white balance are adjusted automatically.
¡ Depending on the light source and recording situation,

correct automatic focusing and white balance
adjustment may not be possible. In such cases, adjust
them manually.
Focus: (m 19); White Balance: (m 42, 43)

1

Set the [POWER ON/OFF] Switch to
[ON].

The [CAMERA] Lamp lights.

2

2

Press the Start/Stop Button.

Recording starts.
The [RECORD] Indication appears briefly and then
changes to [REC].

3

3

To pause recording:
Press the Start/Stop Button again.

The [PAUSE] Indication appears.

4

4

To finish recording:
Set the [POWER ON/OFF] Switch to
[OFF].

If you leave the Camera Recorder in the Recording

Pause Mode for more than 5 minutes, it
automatically switches off to protect the tape and
to conserve battery power. To resume recording
from this condition, set the [POWER ON/OFF]
Switch to [OFF] and then to [ON] again.

Tally-LED

The Tally LED

5 lights during recording to indicate that

recording is being performed.
If you select [OTHERS] on the Menu and then set
[TALLY-LED] to [OFF], the Recording Lamp does not
light. (m 61-64)

Enregistrement

Lorsque l’interrupteur de sélection de mode est mis sur
[AUTO]

1, il suffit de mettre le caméscope en circuit et

d’appuyer sur la touche marche/arrêt pour enclencher
l’enregistrement; la mise au point et la balance des
blancs seront automatiquement réglées.
¡ Selon la source lumineuse et la situation

d’enregistrement, le réglage correct de la mise au point
automatique et de la balance des blancs peut s’avérer
impossible. Dans ce cas, les régler manuellement.
Mise au point: (m 19); Balance des blancs: (m 42, 43)

1

Mettre l’interrupteur [POWER ON/OFF]
sur [ON].

Le témoin [CAMERA] s’allume.

2

2

Appuyer sur la touche marche/arrêt.

L’enregistrement s’enclenche.
L’indication [RECORD] apparaît brièvement puis est
remplacée par [REC].

3

3

Pour interrompre momentanément
l’enregistrement:
Appuyer à nouveau sur la touche
marche/arrêt.

L’indication [PAUSE] apparaît.

4

4

Pour arrêter l’enregistrement:
Mettre l’interrupteur [POWER ON/OFF]
sur [OFF].

Si on laisse le caméscope en mode pause

d’enregistrement pendant plus de cinq minutes, il
se mettra automatiquement hors circuit afin de
protéger la bande et d’économiser l’énergie de la
batterie. Pour reprendre l’enregistrement à partir
de cet état, mettre l’interrupteur [POWER ON/OFF]
sur [OFF] puis à nouveau sur [ON].

Témoin d’enregistrement

Le témoin d’enregistrement

5 s’allume pendant

l’enregistrement pour indiquer que l’enregistrement est
en cours.
Si l’on sélectionne [OTHERS] sur le menu et qu’ensuite
on met [TALLY-LED] sur [OFF], le témoin
d’enregistrement ne s’allume pas. (m 61-64)

-17-

Advertising