Radson 4 Zones RF Clock Manuel d'utilisation
Page 13
13
Now your receiver is linked and ready to work with your
clock.
- Repeat the step (b) to (d) if you need more zones on your
installation.
f)
Go to the parameter
“End” with the key (►+) and
press (OK) to exit the parameter menu.
2.3.3
RF installation check
Now you can exit the installer menu on your clock and
come back to the main screen. To do this, go to the
parameter “End” with the key (►+) and press (OK).
Checking rules for Thermostat receiver
To check your installation, you can perform a RF distance
test.
- First of all, from the main screen press on the menu key
(
i)
and choose the Comfort menu
with
(◄-) and (►+).
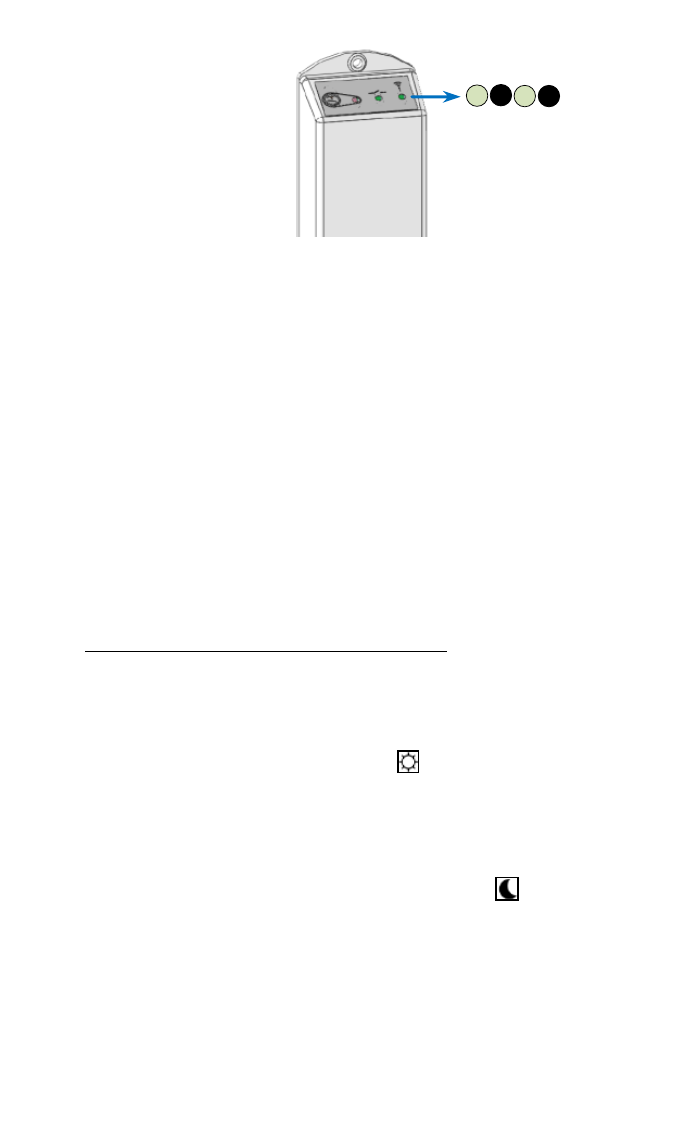
- Now, put all your receivers in AUTO mode (green fixed
LED or red fixed if the thermostat receiver is in heating
demand).
- Then on the RF clock, from the main screen press on the
menu key
(
i)
and choose the reduced menu
with
(◄-)
and
(►+).
- Now go to the rooms (zones) which must be controlled by
the clock and check all receivers to be sure that the new
working mode has received (Reduced mode, green LED
blinking or alternate red/green blinking if heating demand).
Now your installation is checked and ready to works.
…