Panasonic WV-CM2080 Manuel d'utilisation
Panasonic, Wv-cm2080, Operating instructions
Attention! Le texte de ce document a été détectée automatiquement. Pour consulter le document original, vous pouvez utiliser le mode "Original".
Advertising
Table des MATIÈRES
Document Outline
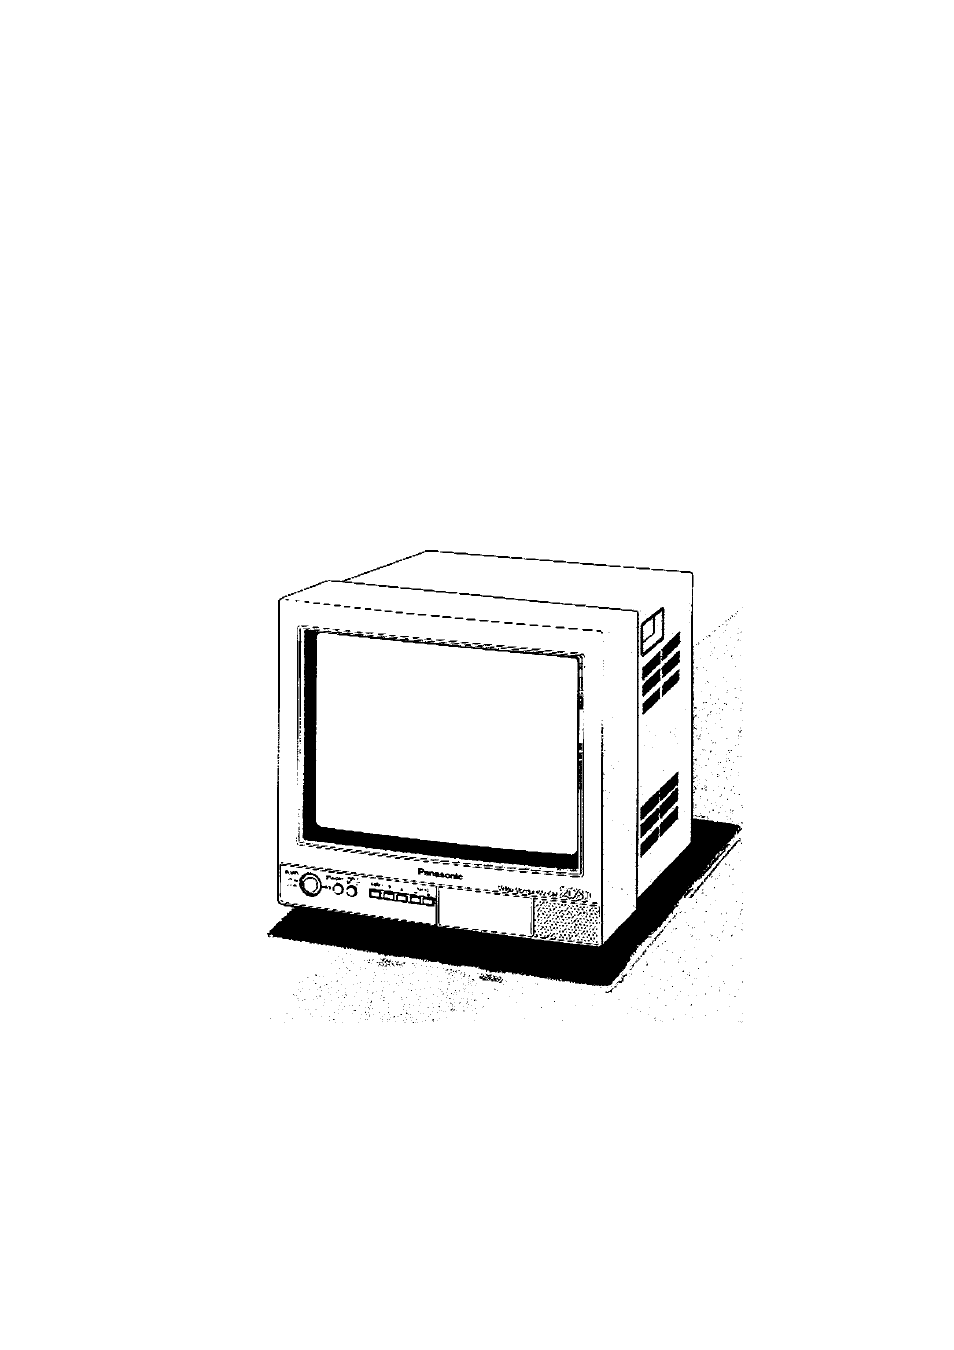
- Color Monitor
- ENGLISH VERSION
- CONTENTS
- PREFACE
- FEATURES
- PRECAUTIONS
- MAJOR OPERATING CONTROLS AND THEIR FUNCTIONS
- ® Power Button (POWER ON/OFF)
- ® Power Indicator
- (3) standby Button (STANDBY)
- ® Input Selection Button (INPUT SELECT)
- (D Menu Button (MENU)
- © Direction Button (T, A)
- ® Decrement/Increment Button (AUDIO [3, 0)
- ® Focus Control (FOCUS)
- ® Screen Control
- ® Data Ports (DATA)
- ® Data Termination Selector (TERMINATION ON/OFF)
- ® Standby Control Terminal (STANDBY ON/STANDBY OFF/G)
- ® Audio Input Connectors (AUDIO IN A/B)
- ® Audio Output Connector (AUDIO OUT A/B)
- ® S-Video Input Connector (S-VIDEO IN)
- ® Video Input Connector (VIDEO IN A/B)
- Video Output Connector (VIDEO OUT A/B)
- AC Inlet Socket (AC IN)
- INSTALLATION
- CONNECTIONS
- SETUP PROCEDURES
- OPERATING PROCEDURES
- OPERATING PROCEDURES (with the System Controller)
- APPENDIX
- SPECIFICATIONS
- ACCESSORIES
- TABLE DES MATIERES
- PREFACE
- CARACTERISTIQUES DOMINANTES
- MESURES DE PRECAUTION
- • Ne pas obturer les ouvertures d'aération ni les fentes du couvercle de l'appareil.
- • Ne jamais faire tomber d'objets métalliques par les fentes d'aération.
- • Ne jamais essayer de démonter l'appareil.
- Ne pas se servir de produits d'entretien violents ni d'abrasifs pour nettoyer le coffret de l'appareil.
- PRINCIPAUX ORGANES DE COMMANDE ET FONCTIONS
- Face arrière
- CD Touche d'alimentation (POWER, ON/OFF)
- (D Témoin d'aiimentation
- (D Touche de veille (STANDBY)
- ® Sélecteur de source d'entrée (INPUT SELECT)
- (T) Touches de réglage croissant ou décroissant (AUDIO E, S)
- Réglage d'écran
- ® Ports d'alarme (DATA)
- ® Sélecteur de données de terminaison (TERMINATION ON/OFF)
- ® Borne de commande de veille (STANDBY ON/STANDBY OFF/G)
- Connecteur d'entrée S-vidéo (S-VIDEO IN)
- Connecteur d'entrée vidéo (VIDEO IN A/B)
- onnecteur de sortie vidéo (VIDEO OUT A/B)
- Prise d'entrée d'alimentation secteur (AC IN)
- Face arrière
- INSTALLATION
- BRANCHEMENTS
- La procédure de branchement mentionnée ci-dessous doit être confiée à un dépanneur professionnel ou à des installateurs de système qualifiés.
- ■ Raccordement à des caméras vidéo de surveillance
- Raccordement à un magnétoscope d'enregistrement
- ■ Raccordement de plusieurs moniteurs vidéo
- ■ Raccordement à un contrôleur de système
- ■ Raccordement à la borne ON/OFF de veille
- PROCEDURE DE CONFIGURATION
- PROCEDURES D'UTILISATION
- PROCÉDURES D'UTILISATION (avec un contrôleur de système)
- ANNEXE