System setup, Clock setup, Time adjustment setting – 
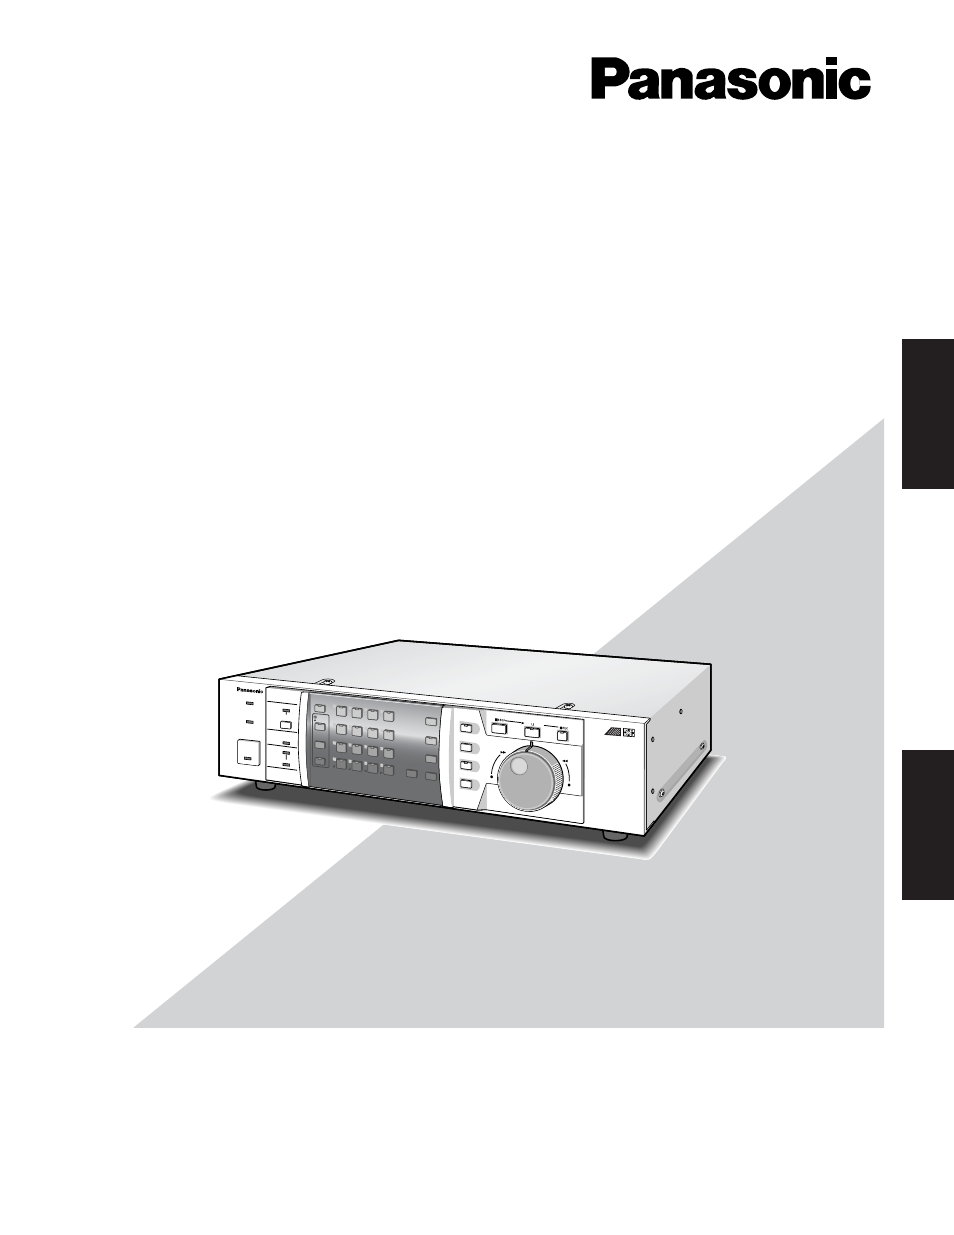
Panasonic WJ-HD500A Manuel d'utilisation

Page 72

Advertising
background image

72

The described below let you determine the system desig-
nation and display the system logs.

1. Move the cursor to SYSTEM SETUP in the WJ-HD500

SETUP menu by pressing the C or D button, then
press the

SET

button.

The SYSTEM SETUP menu shown below appears on
the monitor screen.

2. Select an item or item parameter in the menu by press-

ing the D or C button.

3. To return to the previous setup menu, press the

SETUP/ESC

button.

Clock Setup

This item lets you set the current time and date.

1. Move the cursor to CLOCK in the SYSTEM SETUP

menu by pressing the C or D button, then press the

SET

button to move the cursor to the right editing area.

2. Select the month by pressing the + or - button.

3. Move the cursor to the right by pressing the B button,

then select the date by pressing the + or - button.

4. Move the cursor to the right by pressing the B button,

then select the last 2 digits for the year by pressing the
+ or - button.

5. Move the cursor to the right by pressing the B button,

then select the hours (military time) by pressing the +
or - button.

6. Move the cursor to the right by pressing the B button,

then select the minutes by pressing the + or - button.

9 SYSTEM SETUP

CLOCK JAN 1.00 0:00
TIME ADJUSTING OFF
SET TIME 0:00
AUTO KEY LOCK OFF
PASSWORD ALL *****

OPERATION *****

BUZZER ON
USER DEFINED SETUP *LOAD

DISK MANAGEMENT

ERROR REPORT
SYSTEM INFORMATION

SYSTEM SETUP

7. After completing the setting, press the

SETUP/ESC

button to move the cursor to CLOCK.

Note:

The date and time are updated when the

SETUP/

ESC

button is pressed.

Time Adjustment Setting

This Disk Recorder has a time adjustment input/output at
the CONTROL port on the rear of the Disk Recorder.
This item lets you enable or disable time adjustment by the
input/output from the CONTROL port.

1. Move the cursor to the TIME ADJUSTING parameter in

the SYSTEM SETUP menu by pressing the C or D but-
ton.

2. Select the desired mode by pressing the + or - but-

ton.

OFF:

Disables the time adjustment from the CONTROL

port.

MASTER:

Enables the time adjustment output from the

CONTROL port to set the time for connected exter-
nal device.

SLAVE:

Enables to set the time of this recorder by the

input from the CONTROL port.

The factory default setting is OFF.

3. If the parameter is set to something other than OFF,

move the cursor to SET TIME by pressing the C or D
button, then press the

SET

button.

The cursor moves to the right editing area.

4. Select the hour (military time) to execute the time

adjustment by pressing the + or - button.

5. Press the

SETUP/ESC

button to return the cursor to

SET TIME.

Advertising