Panasonic Hi-Fi Professional/Industrial Video DS850 Manuel d'utilisation
Panasonic, Yo-fo, Model ag
Attention! Le texte de ce document a été détectée automatiquement. Pour consulter le document original, vous pouvez utiliser le mode "Original".
Advertising
Panasonic
yo-Fo
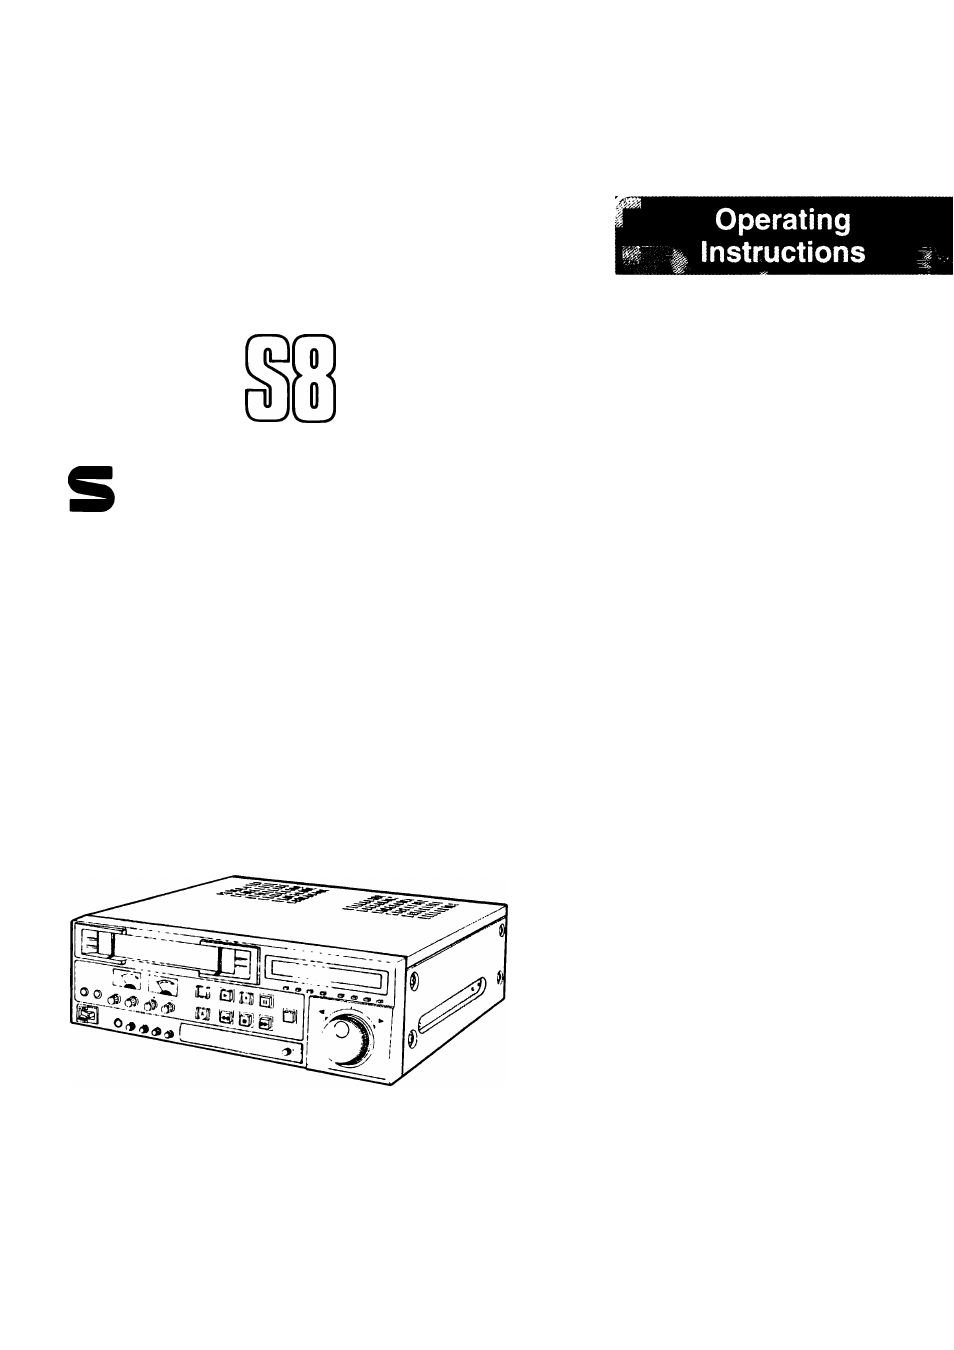
Professional/lndustrial Video
Model AG
V__
t—\
vus
Before attempting to connect, operate or adjust this product, please read
these instructions completely.
VQT5493
Introduction
Precautions for Use
Table of Contents
2
3
4
Controls and Their Functions 6
Basic Operations
12
Switch Settings
TBC Adjustments
Editing Operations
Dial Menu Functions
Time Code
Connections
22
25
29
36
48
54
61
Troubleshooting
Description of Functions
63
Others
65
S0294H-500®
m
Advertising
Table des MATIÈRES
Document Outline
- Professional/lndustrial Video
- V
- Introduction
- Precautions for Use
- Table of Contents
- Front panel parts
- Front panel parts
- Rear panel parts
- Switching on the power
- Installing a cassette
- Recording
- Playback
- FF, REW stop and pause/still
- Search operations
- Slow-motion playback
- AUTO STOP function
- Setting the audio switches
- Setting the video switches
- Other switch settings
- t
- Before proceeding with editing
- Selecting the editing mode
- Executing manual editing
- Select the editing mode.
- Set the MEMORY switch to OFF.
- Find the edit start point by conducting a search operation and place the unit in the still picture mode.
- Press the PLAY button while pressing down the EDIT button.
- 5. Press the STOP button to stop editing.
- 1. Select the editing mode.
- 2. Set to CTL mode with the CTUTC/UB
- 3. Find the edit end point by conducting a search operation and place the unit in the still picture mode.
- 4. Set the MEMORY switch to AUTO (CUT OUT).
- Press the RESET button.
- 6. Find the edit start point by conducting a search operation and place the unit in the still picture mode.
- 7. Press the PLAY button while pressing
- 8. End of editing
- Split editing
- Precautions for editing
- Using the dial menu functions
- Using the dial menu functions (cont.)
- Time Code/user’s bit
- Setting the time code switches
- Recording the time code/user’s bit
- Playing back the time code/user’s bit
- Superimpose screen
- Connections for basic system
- Dubbing connections
- Connections using S-ViDEO cabie (4P)
- Connections using BNC cabie.
- System composed of one editor and one player
- System composed of one editor and two piayers
- 1. Connect the editing controller
- 2. Set 9P DEVICE TYPE SELECT (item No. 5002).
- Set the CONTROL switch to REMOTE.
- Operate the unit from the editing controller.
- 1. Connect the NV-A505 remote search controller to the REMOTE (34-pin) connector.
- 2. Set the 34P SHTL MAX SPEED (item No. 5004).
- Set 34P CONTROLLER TYPE (item No. 5005).
- 4. Set the CONTROL switch to REMOTE.
- 5. Operate the NV-A505 remote search controller.
- REFERENCE
- Error displays
- Troubleshooting
- Servo reference
- Connector signals
- Accessories
- Regular inspections
- Specifications
- VUS
- K
- Introduction
- Mesures de sécurité
- Table des matières
- ©Qflftife (3s ¡ai(pDO№]@S
- 1. Section de commande de niveau
- 2. Section d’affichage des témoins de fonction
- Section micro
- Section casque d’écoute
- Section de réglage de la qualité d’image
- Section des fonctions de base
- 7. Section de réglage du mode de montage/réglage du mode de signal de base de temps
- 8. Section de réglage des fonctions
- Registre d’affichage
- Lorsque le sélecteur de mode de vitesse de repérage (DIAL MODE) se trouve à la position “repérage” (SEARCH).
- Lorsque le sélecteur de mode de vitesse de repérage (DIAL MODE) se trouve à la position “menu” (MENU).
- Affichage de l’horodateur
- 1. Entrée vidéo
- 2. Sortie vidéo
- 3. Raccordement du signai téiécommande
- 4. Contrôle sonore et vidéo
- 5. Entrée audio (AUDIO IN)
- 6. Sortie audio
- 7. Signal de base de temps
- 8. Section alimentation de l’appareil
- Etablissement du contact
- Installation de la cassette
- Enregistrement
- Lecture
- Fonctions de repérage
- Lecture au ralenti
- Arrêt automatique
- Réglages des commutateurs audio
- Réglages video
- Autres réglages
- î
- Avant de procéder au montage
- Sélection du mode de montage
- Montage manuel
- 1. Sélectionner un mode de montage.
- Régler la touche CTUTC/UB sur la mode CTL.
- Trouver le point de fin de montage en utilisant la fonction repérage, puis placer l’appareil en mode arrêt sur image.
- Placer le commutateur mémoire à la position “AUTO (CUT OUT)”.
- Appuyer sur la touche remise à zéro (RESET).
- 6. Trouver le point de début de montage en utilisant la fonction repérage, puis placer l’appareil en mode arrêt sur image.
- 7. Pour commencer le montage, appuyer simultanément sur les touches lecture et montage.
- 8. Fin du montage:
- Montage individuel par insertion
- Fonctions du menu programmable
- 1. Placer le sélecteur de mode de vitesse repérage à la position “menu”.
- Tourner la commande de repérage ponctuel (JOG) pour repérer le sous-menu de réglage.
- 3. Appuyer sur la touche arrêt (STOP) lorsque le sous-menu désiré est affiché.
- 4.
- Maintenir une pression sur la touche arrêt, puis faire tourner la commande de repérage.
- 5. Dégager la touche arrêt.
- Remarque:
- Fonctions du menu programmable (suite)
- 6. Répéter les étapes 2 à 5.
- 7.
- Une fois les réglages terminés, appuyer sur la touche réglage (SEARCH/SET)
- Replacer le sélecteur de vitesse repérage à la position “SEARCH’ TBC
- Mémo:
- Signal de base de temps
- Bits de l’utilisateur
- Réglage du touche CTUTCAJB
- Réglage du touche LTC/AUTO/VITC
- Réglages à l’aide des fonctions du menu programmable
- 1. Appuyer sur la touche CTUTC/UB
- pour commuter en mode “TC” ou “UB”,
- 2. Placer la touche LTC/AUTO/VITC à la position désirée.
- Appuyer sur la touche lecture.
- Pour vérifier les lignes d’insertion du signal de base de temps à intervalle vertical (VITC) pendant la lecture.
- /5 18
- Affichage en surimpression
- Système de base
- Montage avec deux appareils
- 1. Raccordements à l’aide d’un câble S-Vidéo (4 contacts)
- Raccordements à l’aide d’un câble BNC
- Système composé d’un éditeur et d’un apaareil de source
- Système composé d’un éditeur et de deux appareils source
- 1. Raccorder le contrôleur de montage.
- Régler le sélecteur “type de dispositif à 9 contacts” (9P DEVICE TYPE SELECT) (sous-menu n° 5002).
- Régler le sélecteur de commande (CONTROL) à la position “REMOTE”.
- Faire fonctionner l’appareil à partir du contrôieur de montage.
- Remarques:
- 1. Raccorder la télécommande de repérage NV-A505 à la prise télécommande (34 contacts).
- 2. Régler la vitesse maximale du repérage (sous-menu n° 5004).
- 3. Sélectionner le type de télécommande utilisée (sous-menu n° 5005).
- 4. Placer le sélecteur de commande à la position “REMOTE”.
- 5. Faire fonctionner l’appareil depuis la télécommande NV-A505.
- Référence:
- 1. Raccorder le coordonnateur de montage.
- 2. Régler la vitesse maximale du repérage (sous-menu n° 5004).
- 3. Sélectionner le type de coordonnateur utilisé (sous-menu n° 5005).
- 4. Placer le sélecteur de commande à la position “REMOTE”.
- 5. Faire fonctionner l’appareil depuis les commandes du coordonnateur de montage.
- Remarques:
- Messages d’erreur
- Guide de dépannage
- Signal référence d’asservissement
- Signaux des connecteurs
- Accessoires standard et en option
- Entretien
- Données techniques