1
<DRB1227>
En/Fr
Operating Instructions
Mode d’emploi
Bedienungsanleitung
Istruzioni per l’uso
Gebruiksaanwijzing
Manual de instrucciones
English
Français
Deutsch
Italiano
Español
Nederlands
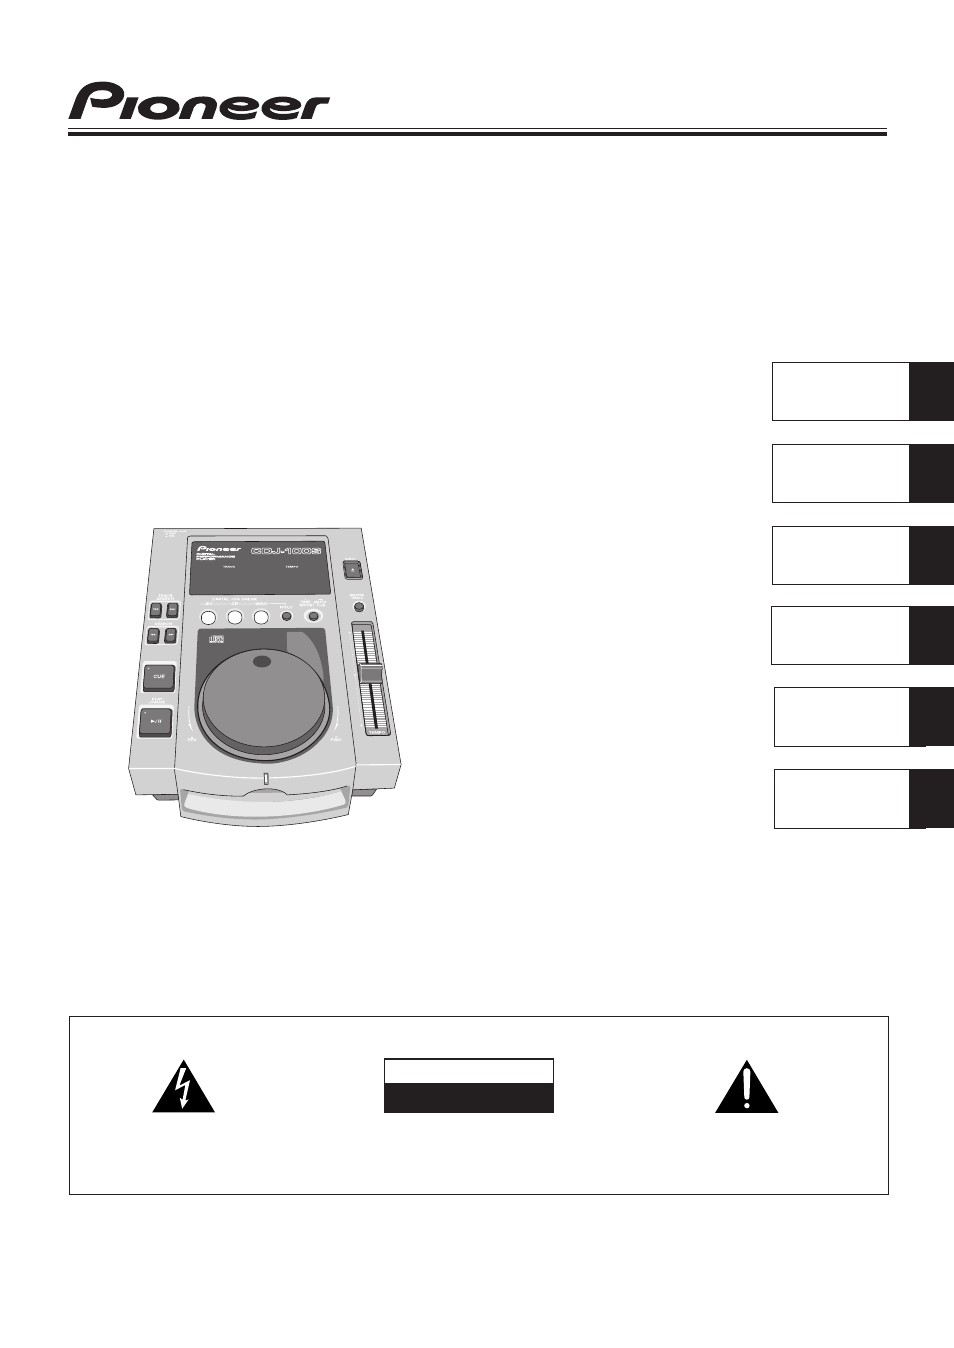
CDJ-100S
'
COMPACT DISC PLAYERLECTEUR DE COMPACT DISCCOMPACT-DISC-SPIELERLETTORE PER COMPACT DISCCOMPACT DISC-SPELERREPRODUCTOR DE DISCOS COMPACTOS
RISK OF ELECTRIC SHOCK
DO NOT OPEN
CAUTION
IMPORTANT 1
CAUTION:TO PREVENT THE RISK OF ELECTRIC SHOCK, DONOT REMOVE COVER (OR BACK). NO USER-SERVICEABLE PARTS INSIDE. REFER SERVICING TOQUALIFIED SERVICE PERSONNEL.
The exclamation point within an equilateral triangle isintended to alert the user to the presence of importantoperating and maintenance (servicing) instructions inthe literature accompanying the appliance.
The lightning flash with arrowhead symbol, within anequilateral triangle, is intended to alert the user to thepresence of uninsulated "dangerous voltage" within theproduct's enclosure that may be of sufficient magnitudeto constitute a risk of electric shock to persons.