Lighting the electronic igniters, Low flame height adjustment, Warning – KITCHENAID 36 Inch Gas Cooktop Owner's Manual Manuel d'utilisation
Page 16
16
9.
Replace with correct Natural gas orifice spud. See Natural
Gas Orifice Spud Chart.
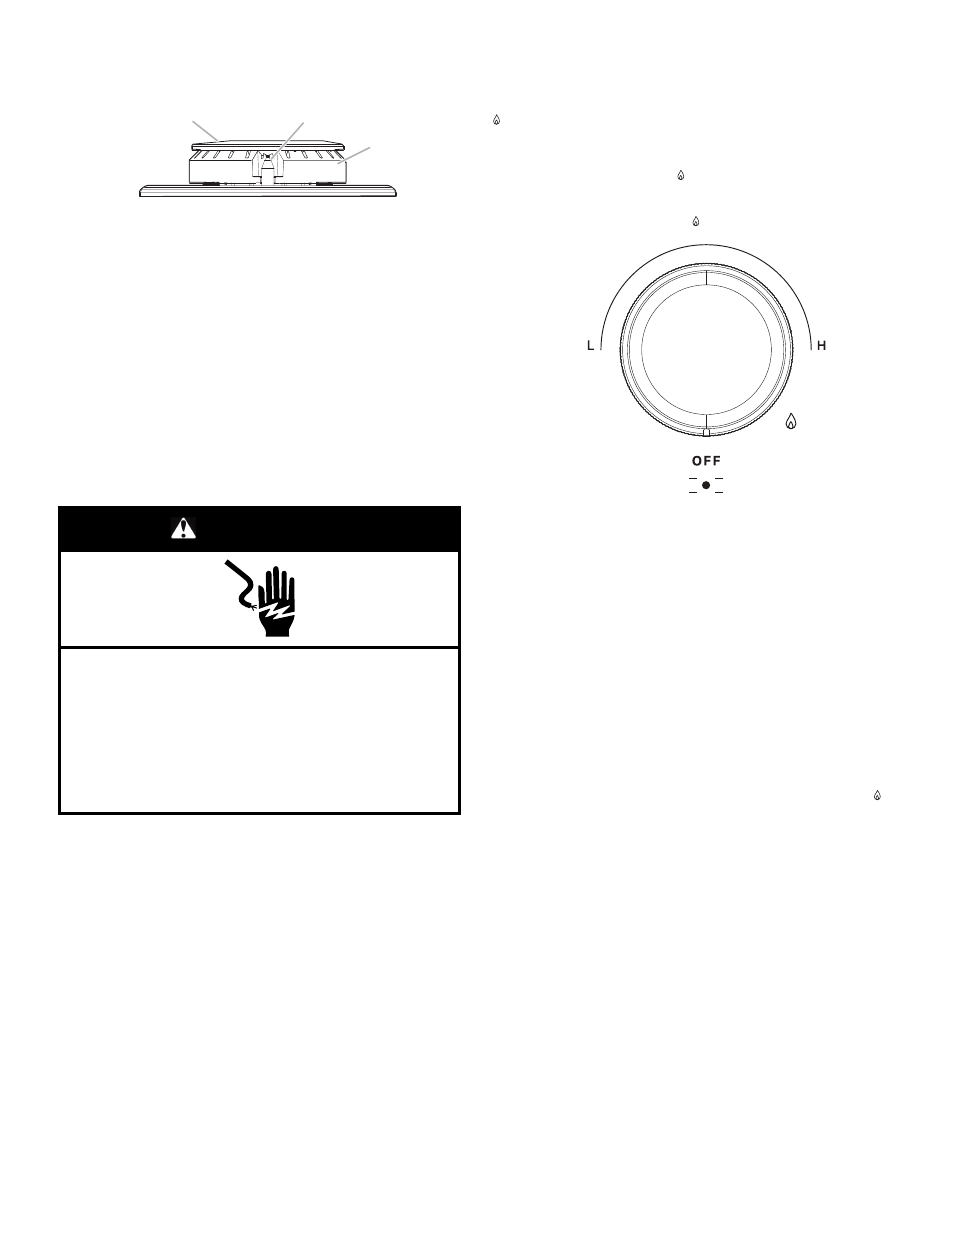
A
B
C
A.
Burner cap
B.
Electrode
C.
Burner base
10.
Place Propane gas orifice spuds in plastic parts bag for future
use and keep with package containing literature.
11.
Replace burner base and tighten the two screws.
IMPORTANT:
Be sure that the electrode aligns with the notch
or hole in the burner base. The igniter electrode is ceramic
and could break during installation of the burner base.
12.
Replace burner cap.
13.
Repeat steps 1-11 for the remaining burners.
14.
Open shut-off valve in the gas supply line. The valve is open
when the handle is parallel to the gas pipe.
REMEMBER:
Once you have completed converting all of the
cooktop burners, test the appliance for leaks by brushing on
an approved noncorrosive leak-detection solution. If bubbles
appear, a leak is indicated. Correct any leaks found.
WARNING
Electrical Shock Hazard
Plug into a grounded 3 prong outlet.
Do not remove ground prong.
Do not use an adapter.
Do not use an extension cord.
Failure to follow these instructions can result in death,
fire, or electrical shock.
15.
Plug cooktop into grounded 3 prong outlet or reconnect
power.
Lighting the Electronic Igniters
The cooktop burners use electronic igniters in place of standing
pilots. When the cooktop control knob is pushed in and turned to
, the system creates a spark to light the burner. This sparking
continues until the control knob is turned to the desired setting.
To Check Operation of the Cooktop Burners:
1.
Push in and turn knobs to
. The cooktop burner flame should
light within 4 seconds. The first time a burner is lit, it may take
longer than 4 seconds to light because of air in the gas line.
Do not leave the knob in the
position after burner lights.
2.
If burners do not light properly, turn the control knob to OFF.
Make sure the burner cap is in the proper position.
3.
Check that the power supply cord is plugged in and circuit
breaker has been tripped or household fuse has not blown.
4.
Check that the shut-off valve is in the on position.
5.
Check burner operation again.
If one or all of the burners do not light at this point, refer to your
Quick Start Guide for contact information.
Low Flame Height Adjustment
Each burner flame has been factory set to the lowest position
available to provide reliable and constant reignition of the burner.
However, each burner can be adjusted.
To Adjust:
1.
After lighting, push in and turn each control knob to the L
position.
2.
If the burner does not stay lit on L, turn the control knob to
until the burner lights.
3.
Quickly turn the control knob down to L.
If the burner goes out after adjusting, readjust the valve.