Maytag MVWC350WW Installation Manuel d'utilisation
Lave-linge Maytag
1
Washer Installation Instructions
Instructions pour l’installation de la laveuse
W10200890C
W10200891C - SP
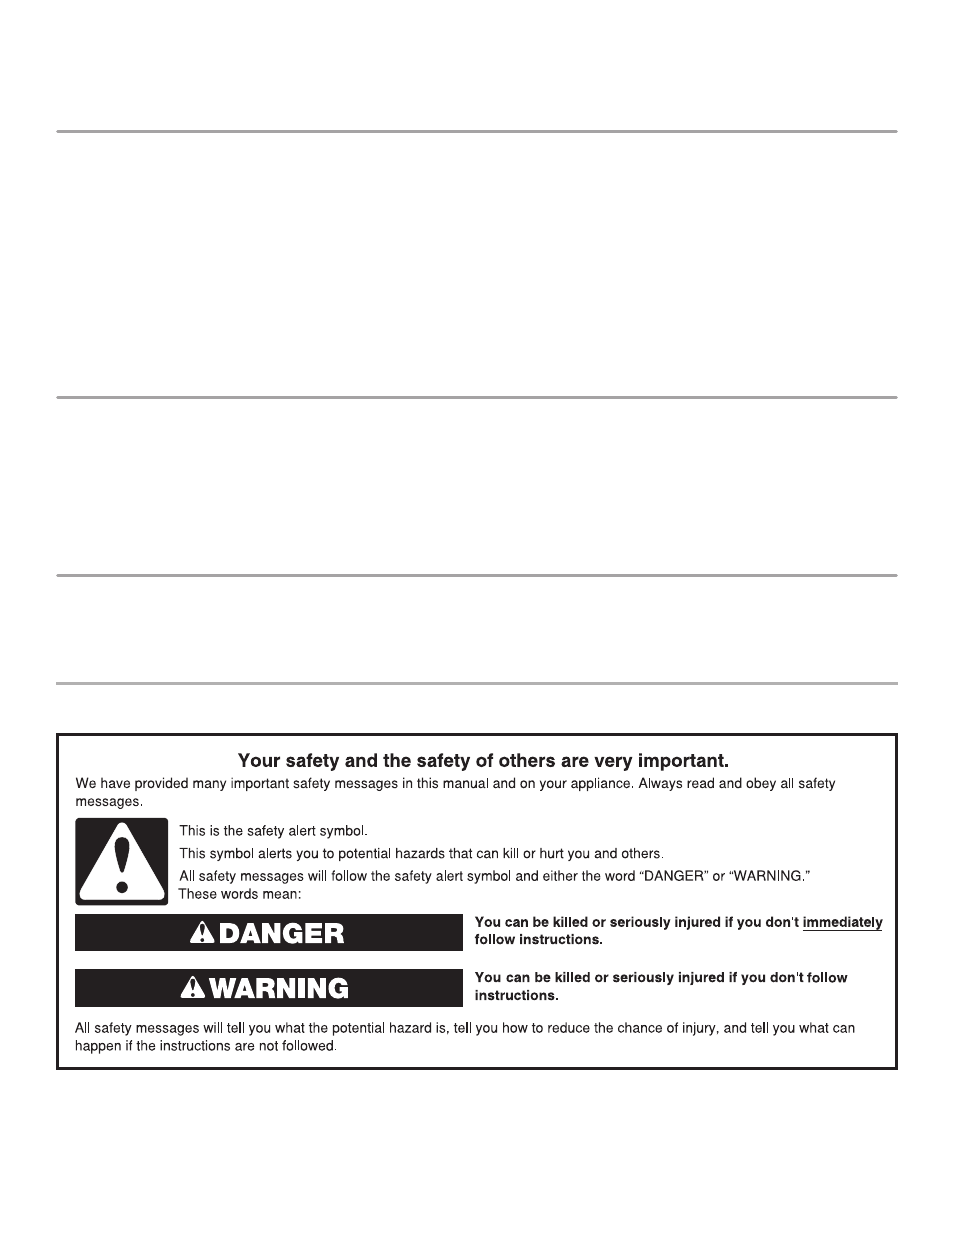
Washer safety
table of Contents
WASHER SAFETY .............................................................
1
INSTALLATION REQUIREMENTS ....................................
2
Tools and Parts .................................................................... 2
Location Requirements ...................................................... 2
Drain System ....................................................................... 3
Electrical Requirements ..................................................... 4
INSTALLATION INSTRUCTIONS ................................................ 4
Before you start: Remove shipping materials .................. 4
Connect Drain Hose ............................................................ 5
Connect Inlet Hoses ............................................................ 6
Level Washer ....................................................................... 7
COMPLETE INSTALLATION CHECKLIST ................................. 8
table des matières
SÉCURITÉ DE LA LAVEUSE .............................................
9
EXIGENCES D'INSTALLATION .........................................
9
Outillage et pièces ............................................................... 9
Exigences d'emplacement ................................................ 10
Système d’évacuation ........................................................ 10
Spécifications électriques ................................................. 11
INSTRUCTIONS D’INSTALLATION ........................................... 12
Avant de commencer : retrait du matérial d’expédition . 13
Raccordement du tuyau de vidange................................. 14
Raccordement des tuyaux d’arivée d’eau ....................... 15
Établissement de l’aplomb de la laveuse ......................... 15
ACHEVER L'INSTALLATION - LISTE DE VÉRIFICATION ........ 16
INSTALLATION NOTES
Date of purchase:
_________________________________
Date of installation:
_______________________________
Installer:
________________________________________
Model number:
___________________________________
Serial number:
___________________________________
Date d'achat :
_____________________________________
Date d'installation :
________________________________
Installateur :
______________________________________
Numéro de modèle :
________________________________
Numéro de série :
__________________________________
NOTES CONCERNANT L'INSTALLATION
Para obtener acceso al “Instrucciones de installation” en español, o para obtener información adicional acerca
de su producto, visite:
www.whirlpool.com
Tenga listo su número de modelo completo. Puede encontrar el número de modelo y de serie dentro de la cavidad
superior de la puerta.