Panasonic CQDF100U Manuel d'utilisation
Panasonic, Cq-df100u
Attention! Le texte de ce document a été détectée automatiquement. Pour consulter le document original, vous pouvez utiliser le mode "Original".
Advertising
Table des MATIÈRES
Document Outline
- Panasonic.
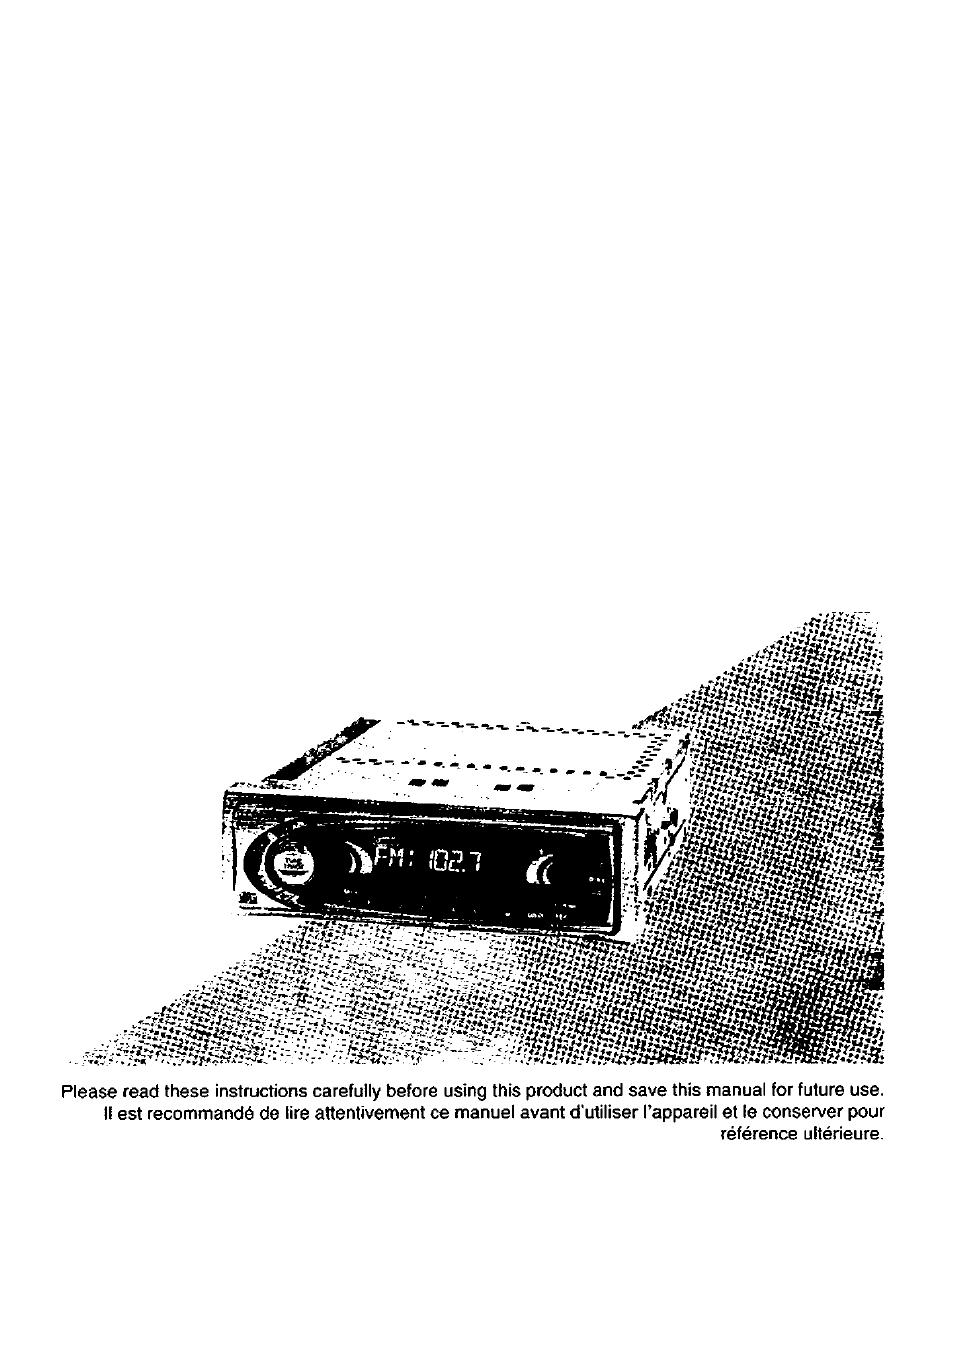
- CQ-DF100U
- When Driving
- When Car Washing
- When Parked
- Use the Proper Power Supply
- Protect the Compact Disc Mechanism
- Use Authorized Servicenters
- For Installation
- Lavage de la voiture
- Voiture stationnée
- Source d’alimentation
- Mécanisme du lecteur audionumérique
- Réparation
- En l’installation
- CQ-DF100U
- □ Part 15 of the FCC Rules
- Power and Sound Controls
- Power and Sound Controls
- Radio Basics
- Compact Disc Player Basics
- Clock Basics
- Electrical Connections
- Troubleshooting
- Disc Notes
- Specifications
- Interrupteur et commandes de réglage de la sonorité
- Interrupteur et commandes de réglage de la
- Enrichissement tonnai (Loudness Control)
- Commutation des modes de réglage audio
- Graves et aigus
- Equilibre
- Équilibre avant-arrière
- Commandes de l’affichage
- Décibelmètre
- Sélection du mode radio
- Sélection de la bande
- Syntonisation manueiie
- Syntonisation par recherche
- Sélection de MONO/LOCAL
- Mise en mémoire des stations
- Mise en mémoire manuelle des stations
- Syntonisation d’une station en mémoire
- Mise en mémoire automatique des stations
- Chargement d’un disque
- Éjection d’un disque
- Amorçage de la lecture du disque
- Sélection de la plage
- Repérage d’un passage au sein d’une plage
- Lecture en reprise d’une plage
- Séquence de lecture aléatoire
- Balayage des plages
- Sélection directe par numéro de plage
- Réglage de l’heure
- Remise à l’heure
- Sélection de l’affichage de l’horloge
- MISE EN GARDE
- 1. Fixer le collier de montage 0.
- 2. Fixer l’arrière de l’appareil.
- ■ Utilisation de la plaque de fixation arrière @
- ■ utilisation du coussinet en caoutchouc (vendu séparément)
- 3. Installer la plaque de garniture
- 4. Après rinstallation, rebrancher la borne négative (—) de la batterie.
- Pour retirer l’appareil
- Système antivol
- Connexions électriques
- En cas de difficulté
- En cas de difficulté
- Remarques sur les disques
- Données techniques
- CQ-DF100U