Multi-Contact MA045 Manuel d'utilisation
Page 3
Advanced Contact Technology
www.multi-contact.com
3 / 4
1
2
3
4
5
Outillage nécessaire
Tools required
(ill. 1)
Clé de montage SS6 pour l‘écrou
M18x1, No� de Cde 14�5008�
(ill. 1)
Socket spanner SS6 for the nut
M18x1, order No� 14�5008�
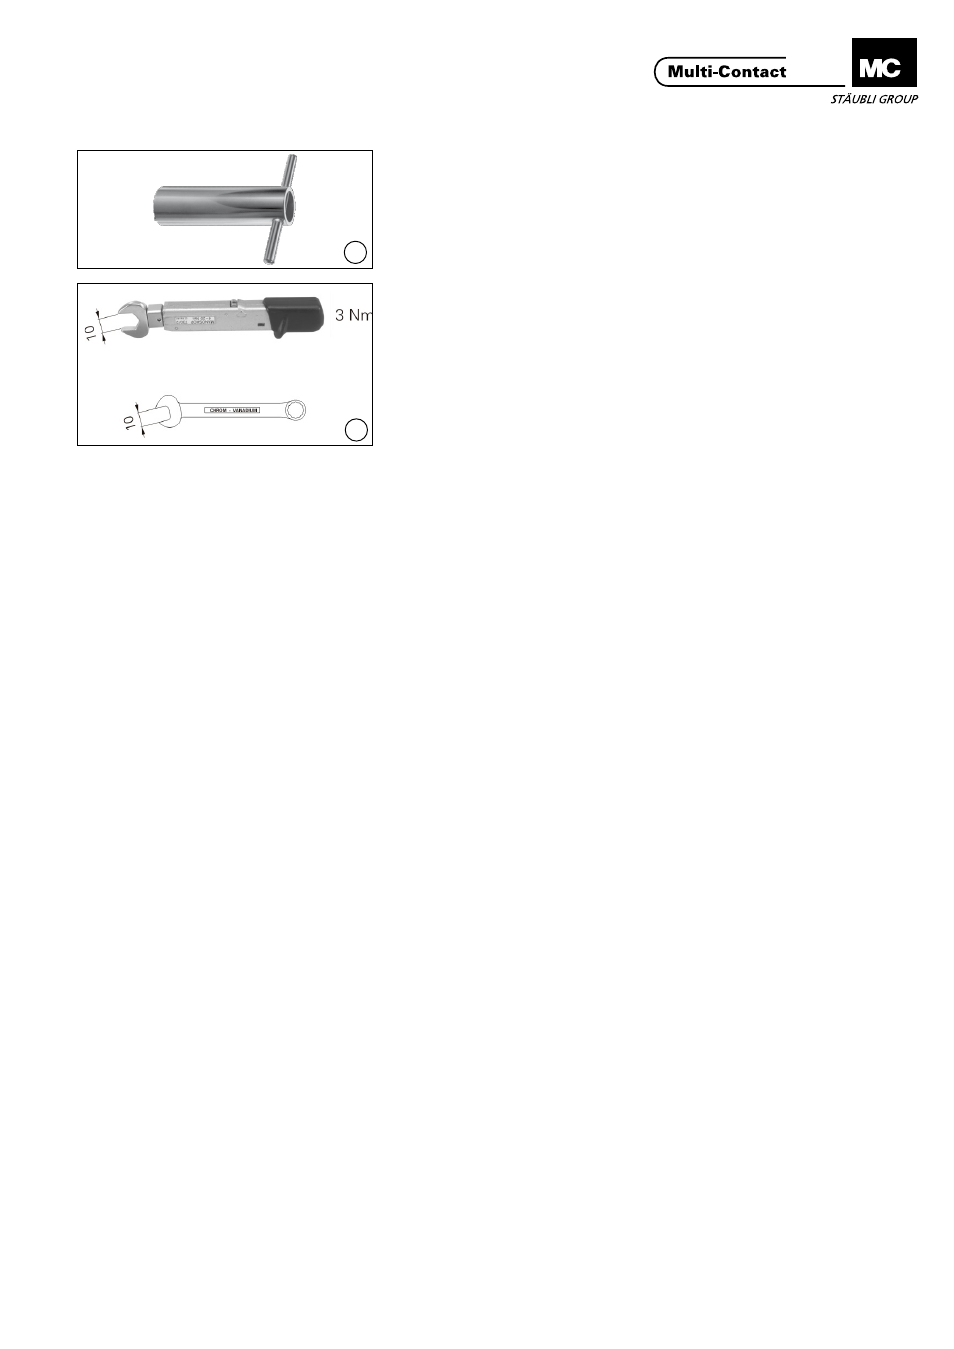
(ill. 2)
Clédynamométrique10 mm,3 Nm
Pour écrou M6:
Clйаfourche10 mmpourécrouM6.
(ill. 2)
TorquespannerA/F10,3 Nm
For nut M6:
Open-end spanner A/F10 for nut M6�
Montage
Assembly
(ill. 3)
Percer le panneau selon le plan de
perçagepourPOAG-ID6.
(ill. 3)
Drill front panel according to drilling
planforPOAG-ID6.
(ill. 4)
Introduireladouilledanslepanneau,
en veillant à monter les ergots de la
douille dans les ouvertures correspon-
dantes�
Monter l‘écrou M18x1 manuellement
et serrer avec la clé de montage SS6
(max.3 Nm).
(ill. 4)
Insertsocketintofrontpanel,making
sure that the lugs on the socket mate
with the opening slots�
Screw on the nut M18x1 and thighten
with the help of the socket spanner
SS6(max.3 Nm).
(ill. 5)
■
Monter la rondelle
2
■
Engager la cosse
D sertie sur câble
surl‘emboutfileté.
■
Monter l‘écrou
6, la rondelle 4 et la
rondelle éventail
5�
■
Serrer l‘écrou
6 avec la clé dyna-
mométri-que10 mmetcontreraver
l‘écrou
1etlaclйаfourche10 mm.
(3 Nm).
(ill. 5)
■
Screw on the washer
2�
■
Slip cable lug
D with preassembled
cable onto the thread�
■
Install nut
6, washer 4 and lock
washer
5
■
Tighten nut
6 with the torque span-
ner10 mmA/F(3 Nm)usingnut
1
and the open-end spanner 10 mm
A/F to counter�
Ecrou M18
Nut 18