Panasonic CQ-R825 Manuel d'utilisation
Panasonic, Operating instructions manuel d’utilisation
Attention! Le texte de ce document a été détectée automatiquement. Pour consulter le document original, vous pouvez utiliser le mode "Original".
Advertising
Panasonic.
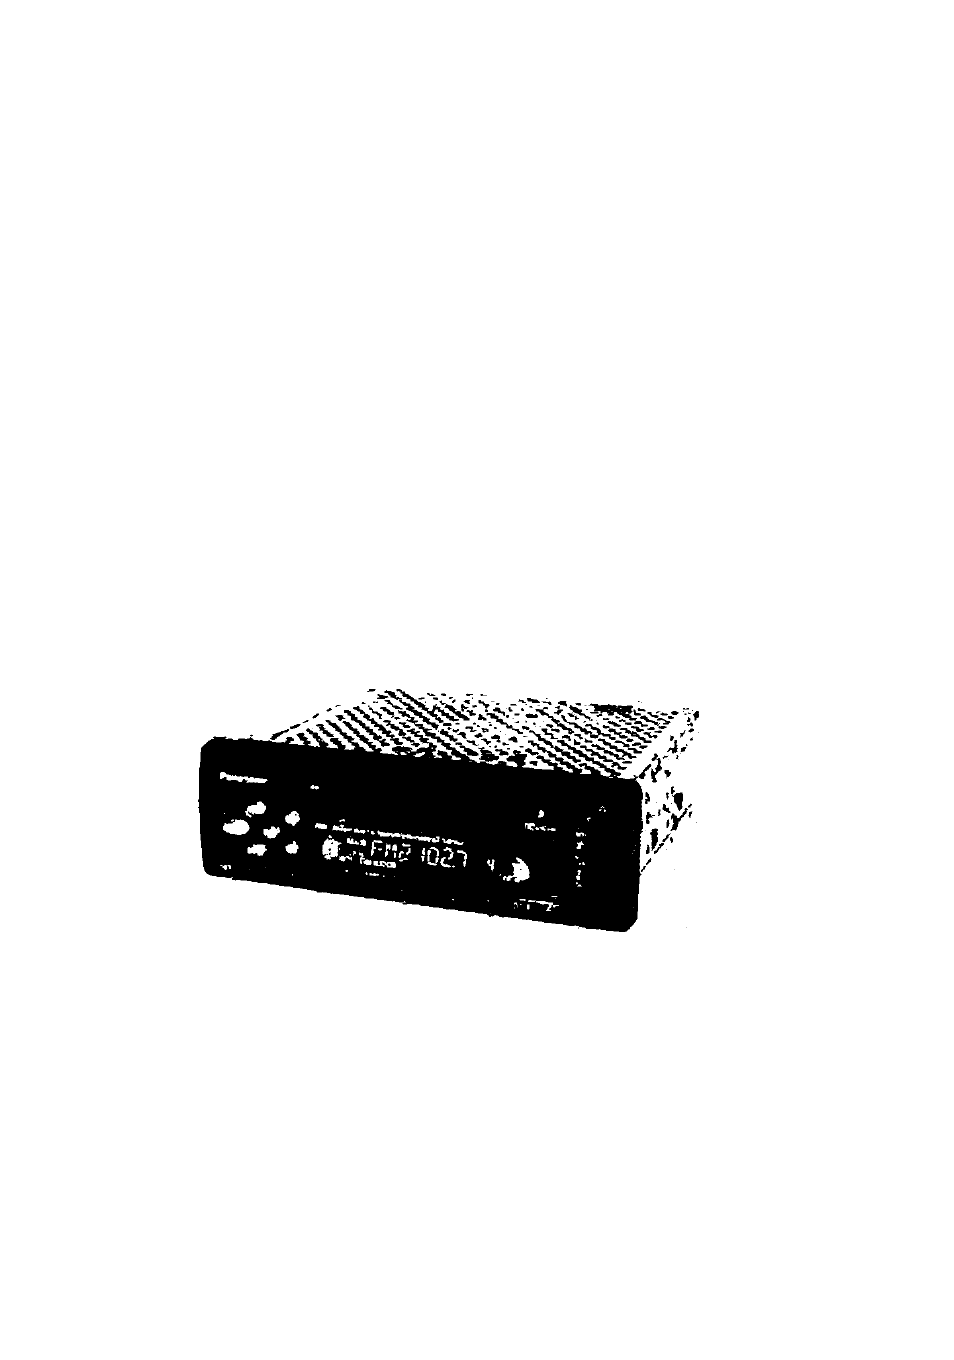
Removable Face High-Power Cassette/Receiver with Changer Control
Récepteur/lecteor de cattles à puissance élevée avec contrôleur de changeur et panneau avant amovible
CQ-R825/R805EUC
Operating Instructions
Manuel d’utilisation
(GQ-R825EUC)
Please reâd these instructions completely before operating thic unit,
est recommandé de lire anentivement ce manuel avant d'utiliser l’appareil.
Advertising
Ce manuel est liée aux produits suivants:
Table des MATIÈRES
Document Outline
- Panasonic.
- CQ-R825/R805EUC
- Power and Sound Controls
- Power and Sound Controls
- Radio Basics
- I Cassette Tape Player Basics
- Loading a Cassette
- Rewind and Fast Forward
- Changing Sides
- Ejecting the Tape
- Blank Skip
- Repeat Play
- Dolby Noise Reduction
- Metal Tape Mode
- TPS Operation (Tape Program Search)
- Notes on Cassette Tapes
- Selecting a Disc
- Selecting a Track
- Searching a Track
- Repeating a Track
- Random Selection
- Scanning Tracks
- Scanning Discs
- Clock Basics
- I Troubleshooting
- Specifications
- Interrupteur et commandes de réglage de la sonorité
- Interrupteur
- Volume
- Compensateur physiologique
- Ultra-haute définition des graves (S*HDB)
- Atténuateur
- Commutation des modes de réglage audio
- Graves et aigus
- Équilibre
- Équilibre avant-arrière
- Commutation de la source auxiliaire
- Sélection du mode mémoire des réglages sonores
- Mise en mémoire des regiages sonores
- Rappel des réglages sonores
- Sélection du mode normal
- Décibelmètre
- Sélection du mode radio
- Sélection de la bande
- Accord manuel
- Accord par recherche
- Mise en mémoire manueiie
- Mise en mémoire automatique
- Séiection MONO/LOCAL
- Chargement de la cassette
- Rebobinage/avance accélérée
- Inversion
- Éjection de la cassette
- Évitement d’espaces vierges
- Lecture en reprise
- Réducteur de bruit Dolby
- Mode bande métal
- Dispositif mémoire (TPS)
- À propos des cassettes
- Fonctionnement du lecteur-changeuj; audionumérique
- Fonctionnement du lecteur-changeur audionumérique
- Fonctionnement de l’horloge
- Fonctionnement de la télécommandé
- Connexions électriques
- En cas de difficulté
- Données techniques