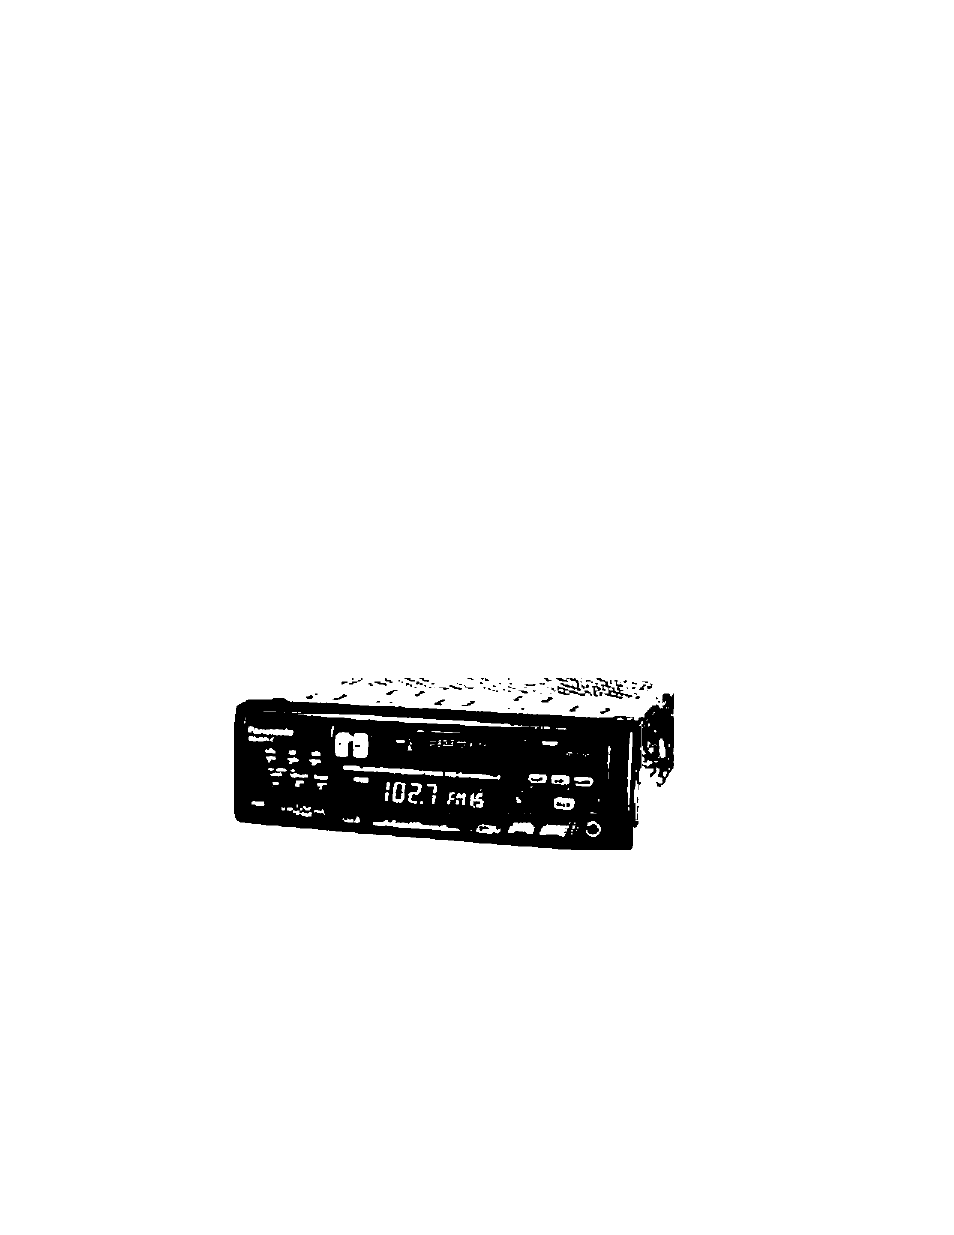
Panasonic Cassette Receiver with CD Changer Control CQ-R545 Manuel d'utilisation
Panasonic, Operating instructions manuel d’utilisation
Attention! Le texte de ce document a été détectée automatiquement. Pour consulter le document original, vous pouvez utiliser le mode "Original".
Advertising
Panasonic
<CO-R545/R525EUC>
Cassette Receiver v/ith CO Changer Control
Rócopteur/iecteur de cassenes avec contrôleur de changeur de disques
<CO-RS20EUC>
Cassette Receiver
Rdcopteur/lecteur de cassettes
CQ-R545/R525/R520EUC
Operating Instructions
Manuel d’utilisation
Rlcase read tnese instructions corrtploioly before operating this unit.
II osl roconvnande de lire anentn-emer4 cc tnanu^ avant rfudiiser rapputeii.
Advertising
Table des MATIÈRES
Document Outline
- CQ-R545/R525/R520EUC
- Power and Sound Controls
- Radio Basics
- Radio Basics
- Cassette Tape Player Basics
- CD Changer Basics
- Remote Control Basics <OnlyforCQ-RS45EUC>
- Installation Guide
- Installation Guide
- Installation Guide
- Motor Antenna
- Battery
- Antenna
- Equipment
- Power
- Lead Connections
- 1. Secure the Mounting Collar 0.
- 2. Secure the rear of the unit.
- Using the Rear Support Strap (5)
- Using the Rubber Cushion (Optional)
- 4. After installation reconnect the negative (-) battery terminal.
- To Remove the Unit
- Anti-Theft System
- Installation Guide continued
- Installation Guide continued
- ©MQ
- Troubleshooting
- Specifications
- Interrupteur
- Volume
- Compensateur physiologique
- Atténuateur
- Graves et aigus
- Équilibre
- Equilibre avant-arrière
- Commutation de la source auxiliaire
- Commutation au mode téléphone
- Sélection du mode radio
- Sélection de la bande
- Accord manuel
- Accord par recherche
- Mise en mémoire des stations
- Mise en mémoire manueiie
- Mise en mémoire automatique
- Chargement de la cassette
- Rebobinage/avance accélérée
- Inversion
- Éjection de la cassette
- Évitement d’espaces vierges
- Lecture en reprise
- Réducteur de bruit Doiby
- Mode bande métal
- Dispositif mémoire (TPS)
- Fonctionnement du lecteur-changeur audionumérique
- audionumérique (suite)
- Fonctionnement de la télécommandé
- <Modèie CQ-R545EUC seulement>
- Nomenclature
- Directives de fonctionnement
- Mise en garde
- Câble d’alimentation
- Fil de la batterie
- Haut-parleurs
- Moteur de l’antenne
- Fil d’antenne
- Fil de réglages silencieux (téléphone cellulaire)
- Mise à la terre
- Haut-parleurs
- Moteur de l’antenne
- Batterie
- Réglage silencieux (téléphone cellulaire)
- Antenne
- Équipement auxiliaire
- Alimentation
- Raccordements des fils
- 2. Fixer l’arrière de i’appareii.
- Utilisation du coussinet en caoutchouc (facuitatif)
- Système antivol
- En cas de difficulté
- Données techniques