Panasonic Removable Face High-Power /Receiver DPX30EUC Manuel d'utilisation
Panasonic, Cq-dpx50/dpx30euc
Attention! Le texte de ce document a été détectée automatiquement. Pour consulter le document original, vous pouvez utiliser le mode "Original".
Advertising
Panasonic
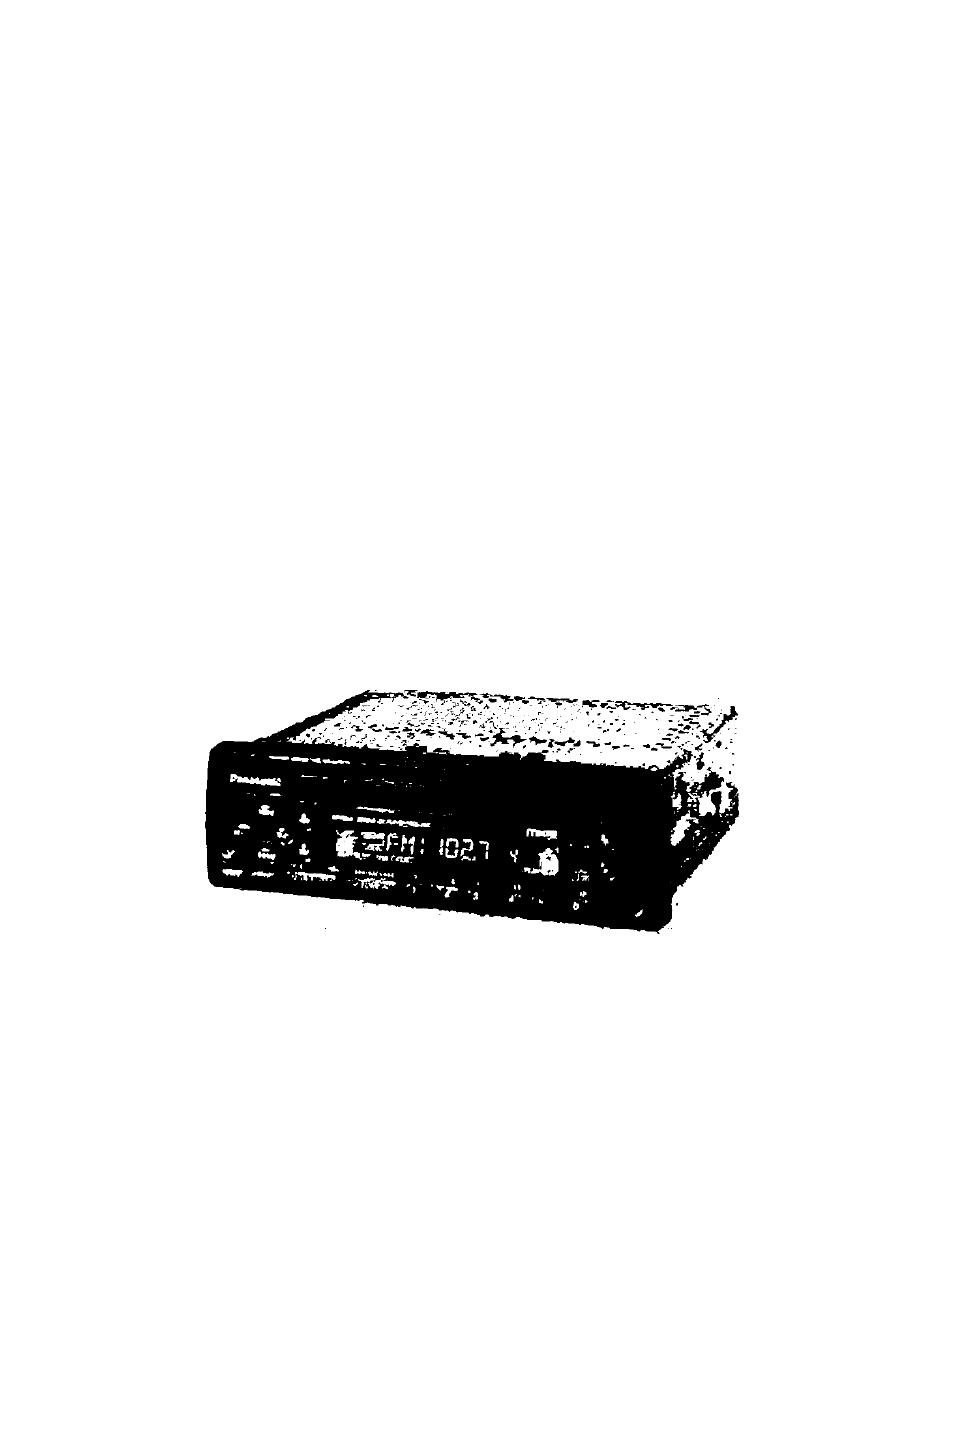
Removable Face High-Power ÇD Player/Receiver
Récetpter/lecteur CD à puissance élevée avec panneau avant amovible
CQ-DPX50/DPX30EUC
Operating Instructions
Manuel d'utilisation
(CQ-DPX50EUC)
Plea$e read these instructions completely before operating this unit,
eel recommandé de lire atténiivement ce manuel avant d'utiliser, l'appareil.
Advertising
Ce manuel est liée aux produits suivants:
Table des MATIÈRES
Document Outline
- CQ-DPX50/DPX30EUC
- Power and Sound Controls
- Power and Sound Controls
- I Radio Basics
- Compact Disc Player Basics
- Programmed Sound Memory
- Remote Control Unit Basics
- Troubleshooting
- Troubleshooting
- Special Notes
- I Specifications *
- Interrupteur et commandes de réglage de la sonorité
- Interrupteur et commandes de réglage de la
- Fonctionnement de la radio
- Fonctionnement du lecteur audionumérique
- Fonctionnement de l’horloge
- Mémoire des réglages sonores (MoMie CQ-DPX50EUC)
- Instructions concernant la télécommande
- IModèle CQ-DPX50EUC)
- Remplacement de la pile
- Remarques sur la pile
- MISE EN GARDE
- □ Généralités
- □ Quincaillerie pour l'installation
- □ Outils requis
- □ Dégagement requis dans le tableau de bord
- □ Identifier tous les fils et câbles
- □ Raccorder tous les fils
- □ Installation finale
- □ Vérifications finales
- □ Installation
- 1. Fixer le collier de montage ®.
- 2. Fixer rarrière de l’appareil.
- ■ Utilisation de la plaque de fixation arrière ®
- ■ Utilisation du coussinet en caoutchouc (facultatif)
- 3. Brancher le connecteur d’alimentation
- 4. L’installation terminée, rebrancher la borne négative (~) de la batterie.
- Retrait de la plaque enjoliveuse
- Pour retirer l’appareil
- Système antivol
- En cas de difficulté
- Généralités
- Donnés techniques