Samsung DV350AEP-XAA Manuel d'utilisation
Clothes dryer, Technical information
1
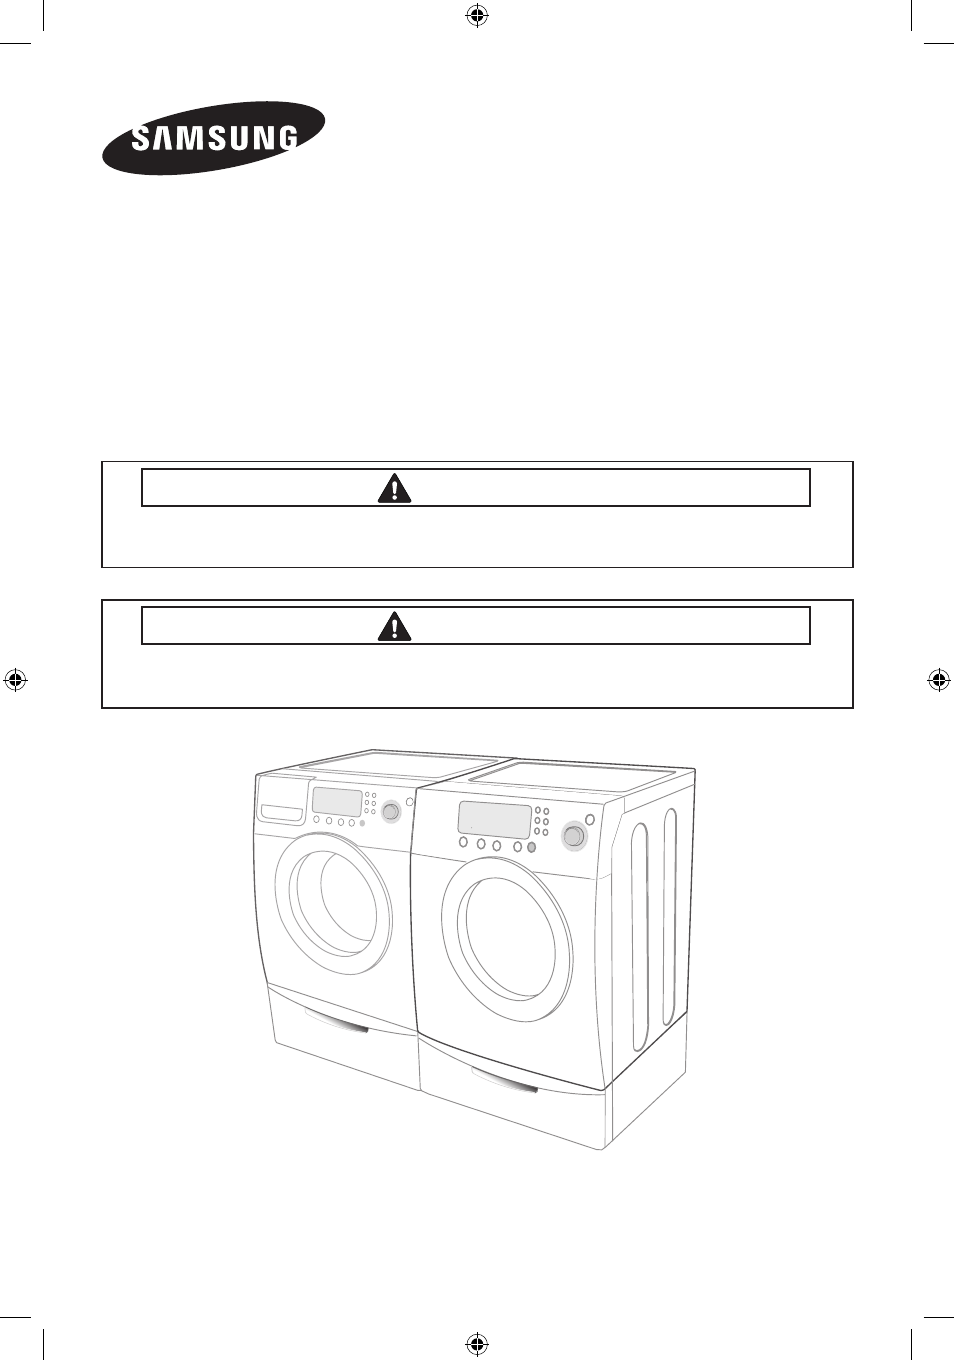
CLOTHES DRYER
Technical Information
CAUTION
All safety information must be follwed as provided in Service Manual of DV220, DV221, DV210,
DV350, DV339, DV338, DV331, DV330, DV448, DV438, DV428, DV419, DV410, DV409, DV407.
WARNING
To avoid risk of electrical shock, personal injury or death; disconnect power to dryer
before servicing, unless testing requires power.
Code No. : DC68-02365G-00
•
Due to possibility of personal injury or property damage, always contact an authorized
technician for servicing or repair of this unit.
•
Refer to Service Manual (DV220, DV221, DV210, DV350, DV339, DV338, DV331, DV330, DV448,
DV438, DV428, DV419, DV410, DV409, DV407) for detailed installation, operating, testing,
troubleshooting, and disassembly instructions.
Technical_information-02365G-00_EN.indd 1
2011-09-21 �� 3:07:06