Panasonic SC-XH50 Manuel d'utilisation
Owner’s manual dvd home theater sound system
Advertising
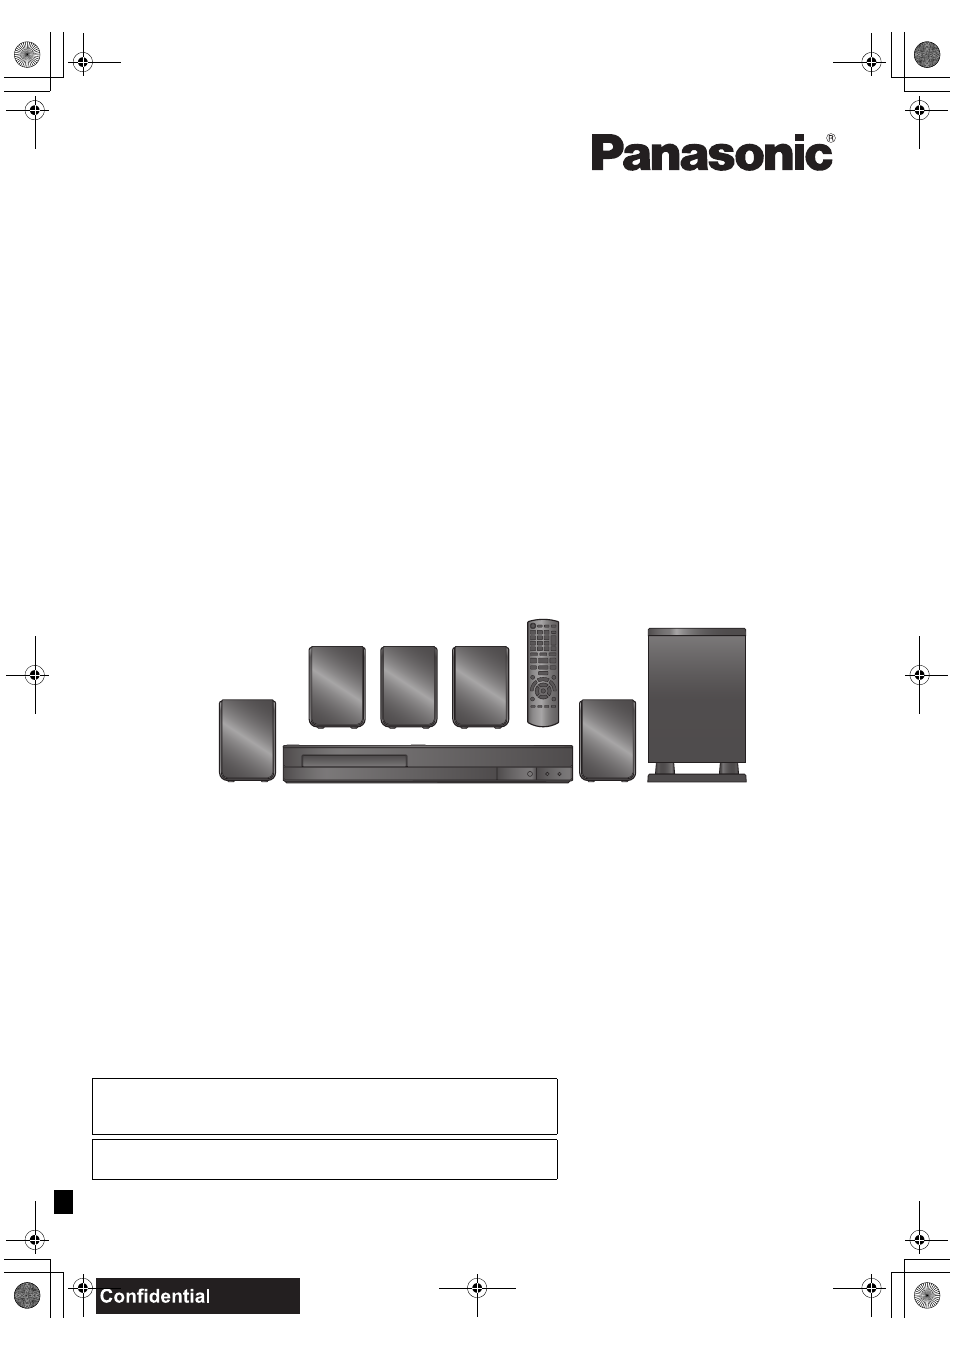
Owner’s Manual
DVD Home Theater Sound System
Model No.
SC-XH50
[_P_] [PC]
RQTX1326-1P
until
2011/04/10
Dear customer
Thank you for purchasing this product.
For optimum performance and safety, please read these instructions carefully.
If you have any questions contact
U.S.A. and Puerto Rico: 1-800-211-PANA (7262)
Canada:1-800-561-5505
Only for U.S.A. and Puerto Rico: The warranty can be found on page 23.
Only for Canada: The warranty can be found on page 24.
SC-XH50PPC_RQTX1326-P_eng.book Page 1 Wednesday, March 23, 2011 10:33 AM
Advertising