Troubleshooting, Replacement of cross fader volume control – 
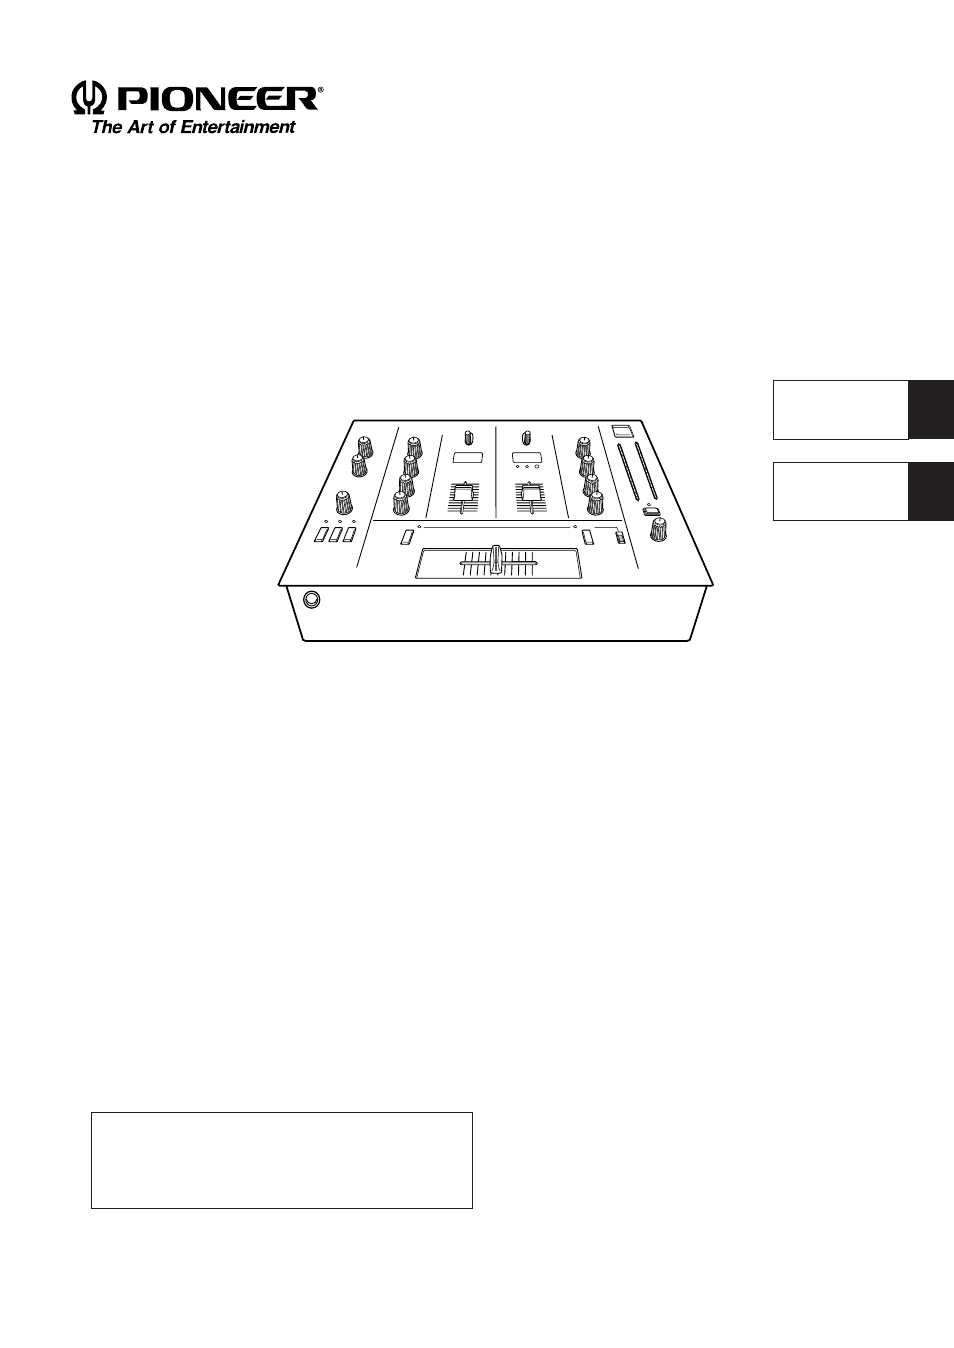
Pioneer 300 Manuel d'utilisation

Page 16

Advertising
background image

16

<DRB1206>
En/Fr

TROUBLESHOOTING

Incorrect operations are often mistaken for trouble and malfunctions. If you think that there is something wrong with this
component, check the points below. Sometimes the trouble may lie in another component. Investigate the other components
and electrical appliances being used.
If the trouble cannot be rectified even after exercising the checks listed below, ask your nearest PIONEER authorized service
center or your dealer to carry out repair work.

Symptom

Cause

Remedy

• The power cord is not connected.

• The position of the input selector switch is wrong.

• The connection cord is not connected properly or dis-

connected.

• The terminal or plug is dirty.

• The input level is too high.

• Set the cross fader switch to CH..

• The fader start switch is off.
• The player control terminal at the rear is not con-

nected.

• This unit and the CD player are not connected by

an audio cord.

• Connect to the power outlet.

• Select the device currently playing

with the input selector switch.

• Connect properly.

• Clean and connect.

• Adjust with the trim knob.

• Set the cross fader switch to CROSS.

• Turn on the fader start switch.
• Connect the control terminals of the

CD player and the unit with the com-
mercially available cord with mini
plug (no resistor).

• Connect by an audio cord.

The power does not turn on.

No sound or soft sound.

Noises

No cross fader.

The fader of the CD player
does not start.

16

<DRB1206>
En

Order the cross fader assembly (T-U76) from your nearest
dealer or PIONEER authorized service center.

E

E

<CH–1

A

B

B

D

C

CH–2>

Replacement of Cross Fader Volume Control

The unit has a structure which allows its cross fader to be
replaced.
Replace as follows.
1 Disconnect the power plug of the unit from the outlet.
2 Pull up the knob A of the cross fader and remove.
3 Remove the two screws B and remove the slider panel

C.

4 Remove the cross fader assembly from the unit, and

disconnect the connector D.

5 Remove the two screws E and replace the cross fader

volume control with a new one.

6 Attach the screws E, connector D, slider panel C,

screws B, and knob A of the cross fader in the reverse
order of the above.

Fully insert the connector D into the cross fader assembly.
If it is not fully inserted, the unit will not work correctly.

NOTES:
• Do not touch the internal parts of the unit or put your

hand inside the unit, as this may cause injuries and dam-
age to the unit.

• Be careful not to drop removed parts and screws inside

the unit.

Abnormal functioning of this unit may be caused by static electricity, or other external interference. To restore normal opera-
tion, turn the power off and then on again.

Advertising
Ce manuel est liée aux produits suivants: