Manuals
Directory
Modes-d-emploi.com
- bibliothèque de modes d'emploi
Rechercher
Liste
Marques
Panasonic manuels
Commande à distance
AJ-RC5
Manuel
Panasonic AJ-RC5 Manuel d'utilisation
Operating instrutions aj
Mode texte
Mode Original
Advertising
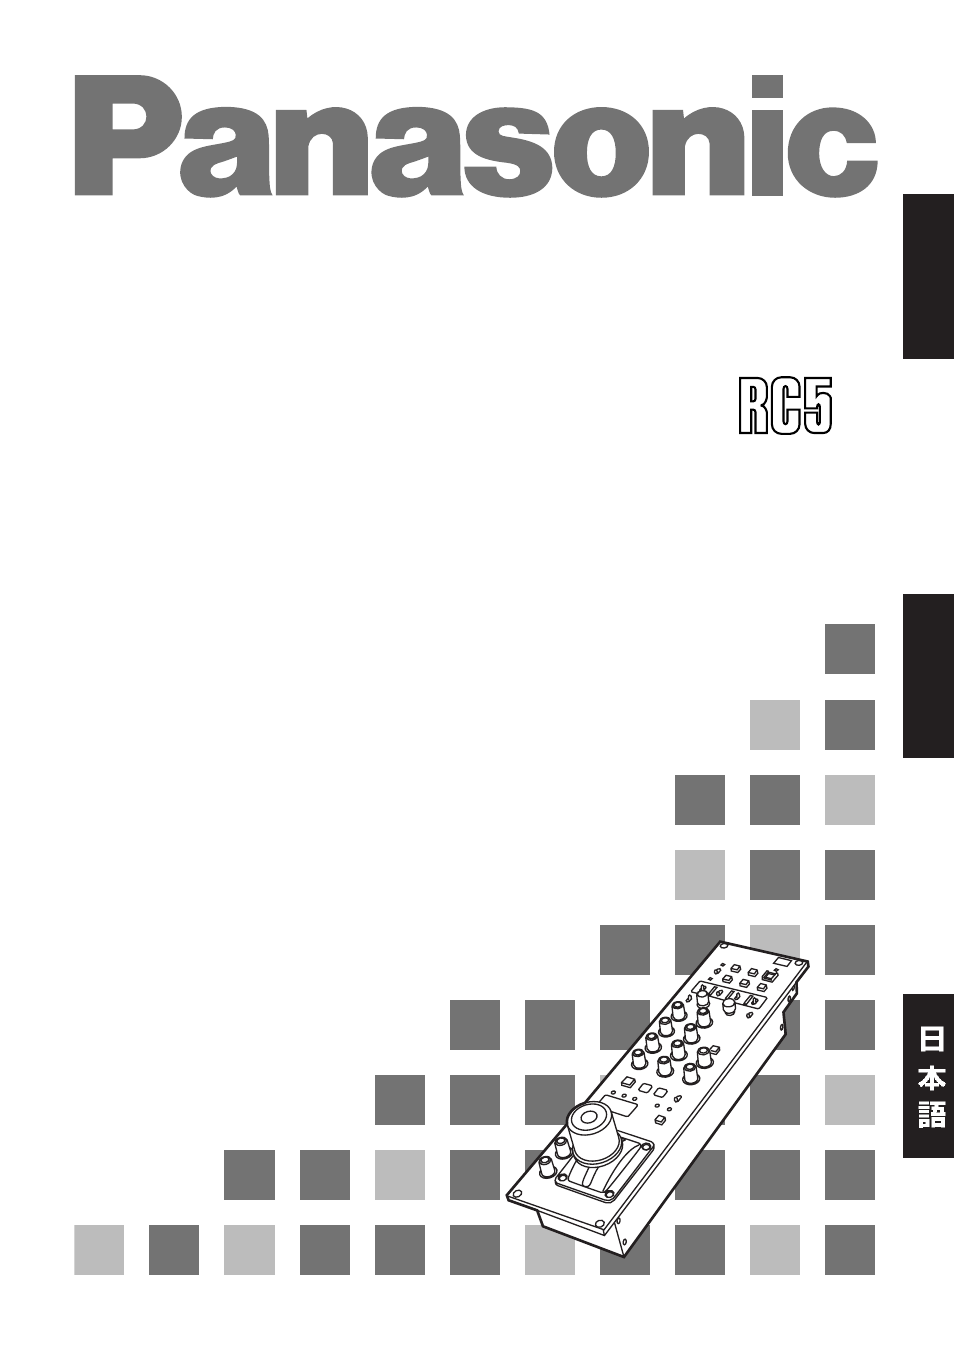
Remote Control Operation Panel
Operating Instrutions
AJ-
P
EN
ENGLISH
FRANÇAIS
Share
Pages:
1
2
3
4
5
6
7
…
48
Télécharger
Se plaindre
mauvais Marque
mauvais Modèle
non lisible
Advertising
Voir aussi d'autres documents dans la catégorie Commande à distance Panasonic:
EUR511155
(Pages: 10)