Panasonic SB-TP70 Manuel d'utilisation
Enceintes Panasonic
Operating Instructions
Model No. / Modèle
SB-TP70
RQT7694-1Y
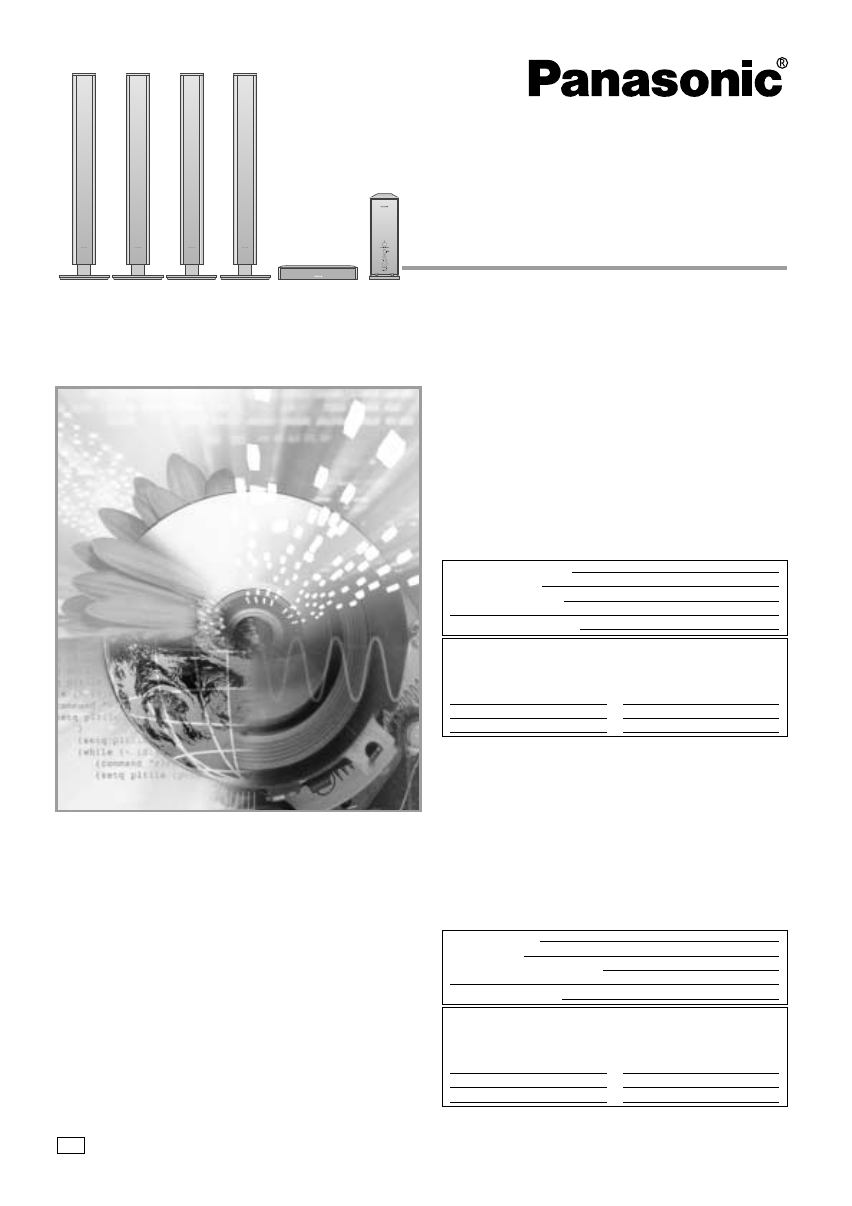
Speaker System
Il est recommandé de lire attentivement le présent manuel avant
d’utiliser l’appareil.
Conserver ce manuel.
Manuel d’utilisation
Enceintes acoustiques
PP
Contents
Supplied accessories . . . . . . . . . . . . . . . . . . . . . . . . . . . . . . . . . 2
IMPORTANT SAFETY INSTRUCTIONS . . . . . . . . . . . . . . . . . . . 4
Speaker setup . . . . . . . . . . . . . . . . . . . . . . . . . . . . . . . . . . . . . . . 5
Location . . . . . . . . . . . . . . . . . . . . . . . . . . . . . . . . . . . . . . . . . . . . 7
Connections . . . . . . . . . . . . . . . . . . . . . . . . . . . . . . . . . . . . . . . . 8
Subwoofer operation (SB-WA70) . . . . . . . . . . . . . . . . . . . . . . . . 9
Notes . . . . . . . . . . . . . . . . . . . . . . . . . . . . . . . . . . . . . . . . . . . . . 10
Maintenance . . . . . . . . . . . . . . . . . . . . . . . . . . . . . . . . . . . . . . . 10
Product service . . . . . . . . . . . . . . . . . . . . . . . . . . . . . . . . . . . . . . 11
Specifications . . . . . . . . . . . . . . . . . . . . . . . . . . . . . . . . . . . . . . . 11
Warranty (U.S.A.) . . . . . . . . . . . . . . . . . . . . . . . . . . . . . Back cover
Table des matières
Accessoires fournis . . . . . . . . . . . . . . . . . . . . . . . . . . . . . . . . . . 2
Précautions à prendre . . . . . . . . . . . . . . . . . . . . . . . . . . . . . . . . 4
Installation des enceintes . . . . . . . . . . . . . . . . . . . . . . . . . . . . . 5
Emplacement . . . . . . . . . . . . . . . . . . . . . . . . . . . . . . . . . . . . . . . . 7
Raccordements . . . . . . . . . . . . . . . . . . . . . . . . . . . . . . . . . . . . . . 8
Fonctionnement de l’enceinte d’extrêmes-graves (SB-WA70) . . . 9
Remarques . . . . . . . . . . . . . . . . . . . . . . . . . . . . . . . . . . . . . . . . 10
Entretien . . . . . . . . . . . . . . . . . . . . . . . . . . . . . . . . . . . . . . . . . . 10
Service après-vente . . . . . . . . . . . . . . . . . . . . . . . . . . . . . . . . . . 11
Données techniques . . . . . . . . . . . . . . . . . . . . . . . . . . . . . . . . . . 11
Before connecting, operating or adjusting this product, please read
these instructions completely.
Please keep this manual for future reference.
User memo:
The model number and serial number of this product can be found
on either the back or the bottom of the unit.
Please note them in the space provided below and keep for future reference.
MODEL NUMBER
SERIAL NUMBER
SB-FS70
SB-PC70
SB-WA70
Homologation:
Il est recommandé de noter, dans l’espace prévu ci-dessous, le numéro
de modèle et le numéro de série inscrits à l’arrière, ou sous le fond de
l’appareil, et de conserver ce manuel pour référence ultérieure.
NUMÉRO DE MODÈLE
NUMÉRO DE SÉRIE
SB-FS70
SB-PC70
SB-WA70
DATE D’ACHAT
DÉTAILLANT
ADRESSE DU DÉTAILLANT
N
O
DE TÉLÉPHONE
DATE OF PURCHASE
DEALER NAME
DEALER ADDRESS
TELEPHONE NUMBER