KITCHENAID 8301169 Manuel d'utilisation
Installation instructions, Warning, For residential use only
Part No. 8301169 Rev. A
Installation Instructions
IMPORTANT:
Installer: Leave Installation
Instructions with the homeowner.
Homeowner: Keep Installation
Instructions for future reference.
Save Installation Instructions for local
electrical inspector’s use.
Write down the model and serial numbers
before installing range.
Both numbers are on the model/serial
rating plate, located on the surface below
the control panel.
Model #___________________________
Serial # ___________________________
Questions regarding features,
operation, performance, parts or
service? Call 1-800-422-1230 or visit
our web site at www.kitchenaid.com.
IMPORTANT:
Read and save these
instructions.
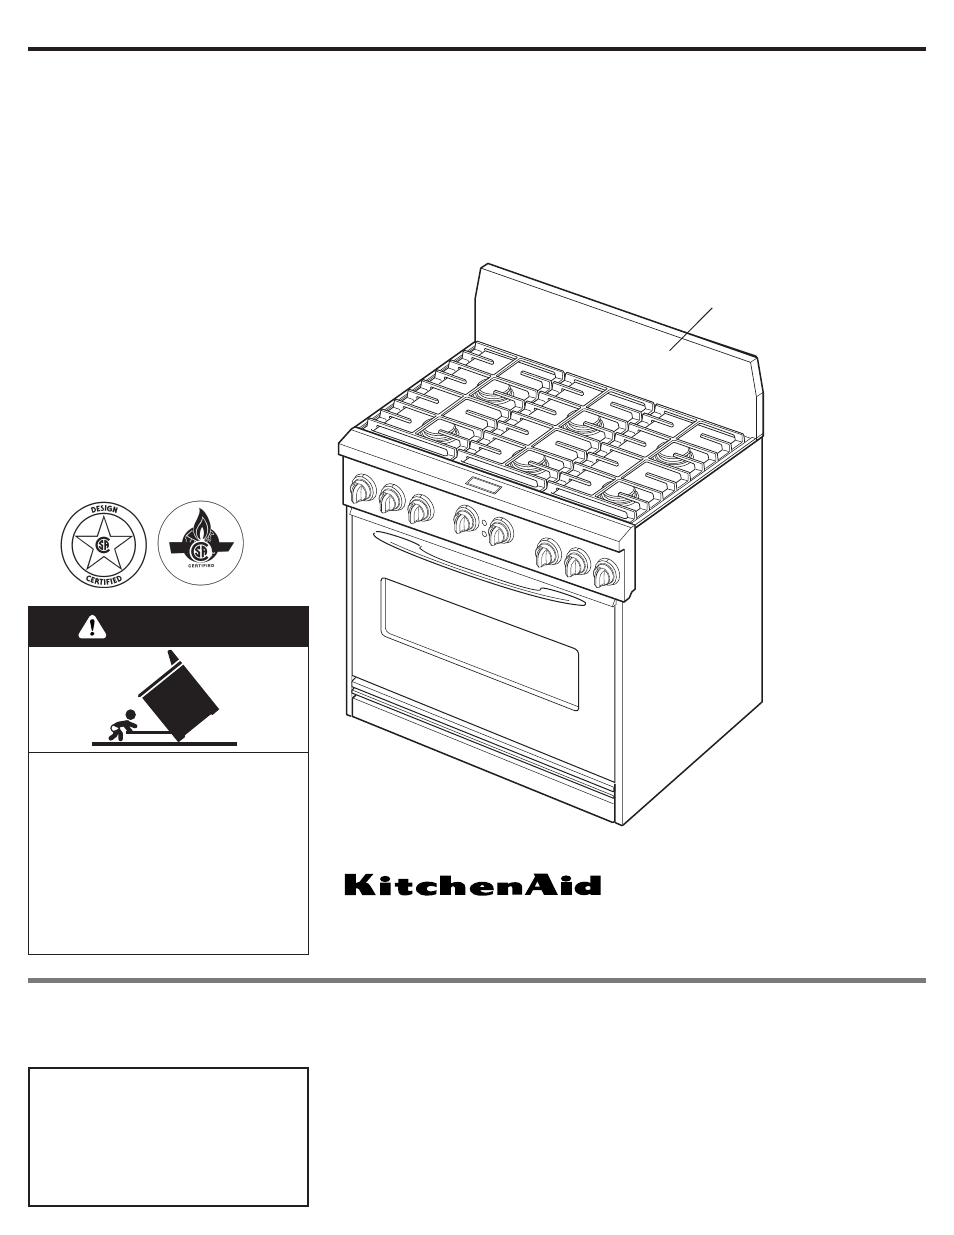
36" (91.4 cm) Commercial Style Dual Fuel Range
with self-cleaning thermal/convection oven
for residential use only
OFF
OFF
OFF
OFF
OFF
OFF
OFF
OFF
OFF
OFF
OFF
OFF
OFF
OFF
OFF
OFF
backguard
(required for some installations)
For the way it’s made
®
®
Tip Over Hazard
A child or adult can tip the range
and be killed.
Connect anti-tip bracket to wall
behind range.
Reconnect the anti-tip bracket, if
the range is moved.
Failure to follow these instructions
can result in death or serious
burns to children and adults.
WARNING
Document Outline
- ENGLISH VERSION
- FRENCH VERSION
- Avant de commencer....
- PIECES FOURNIES POUR L INSTALLATION
- DIMENSIONS DU PRODUIT
- DIMENSIONS DE L ESPACE D INSTALLATION
- ALIMENTATION EN GAZ
- INSTALLATION ELECTRIQUE
- INSTALLATION DU GRIL OU DE LA PLAQUE A FRIRE
- CONTROLE DU FONCTIONNEMENT DES BRULEURS DE LA TABLE DE CUISSON DU GRIL ET DE LA PLAQUE A FRIRE
- LISTE DE CONTROLE DE L INSTALLATEUR
- SI LA CUISINIERE NE FONCTIONNE PAS
- SI UNE ASSISTANCE EST NECESSAIRE
- SI VOUS AVEZ BESOIN DE SERVICES DE REPARATION
- ENTRETIEN