Multi-Contact MA270 Manuel d'utilisation
Page 4
Advanced Contact Technology
4 / 4
www.multi-contact.com
5
6
7
8
9
7
MC4
MC4-EVO 2
(ill. 5)
Déverrouillage de la douille
Solmac
Poussez les pointes de déverrouil-
lage de
PV-MS-PLS/2 dans les
ouvertures prévues à cet effet dans
la fiche
MC4-EVO 3 et sur les clips
de verrouillage de la douille, enlevez
l’outil après le déverrouillage puis
débranchez le connecteur.
Déverrouillage de la fiche Solmac
Poussez les pointes de déverrouil-
lage de
PV-MS-PLS/1 dans les
ouvertures prévues à cet effet dans
la fiche Solmac et sur les clips de
verrouillage de la douille
MC4-EVO 3
puis retirez la douille du boîtier de
fiche Solmac.
(ill. 5)
Unlocking the Solmac socket
Insert the unlocking pins of
PV-MS-PLS/2 into the openings pro-
vided in the
MC4-EVO 3 plug and onto
the latch clips of the socket, remove the
tool after unlocking and then disconnect
the plug connector.
Unlocking the Solmac plug
Push the unlocking pins of
PV-MS-PLS/1 into the openings of the
Solmac plug and onto the latch clips
of the
MC4-EVO 3 socket and pull the
socket out of the Solmac plug housing.
(ill. 6)
Déverrouillage de la fiche Twin-
Box
Poussez les pointes de déverrouilla-
ge de
PV-MS-PLS/1 sur les clips de
verrouillage de la douille
MC4 puis
retirez celle-ci du boîtier de fiche de
la TwinBox.
Remarque:
Pour le déverrouillage d’autres
combinaisons de produits non
représentées sur les illustrations, voir
la matrice d’utilisation.
(ill. 6)
Unlocking the Twin Box plug
Push the unlocking pins of
PV-MS-PLS/1 onto the latch clips of
the
MC4 socket and pull the socket out
of the plug housing of the TwinBox.
Note:
For unlocking operations on other
product combinations not shown in
the illustrations, please see the utilisa-
tion matrix.
Vissage de connecteurs
Screw assembly of plug connections
(ill. 7)
Vissage de MC4
Insérez le boîtier de la douille ou de
la fiche
MC4 dans l’ouverture de
montage prévue à cet effet (support
de montage) de
PV-MS-PLS/2 et
serrez l’écrou borgne avec la clé
polygonale de
PV-MS-PLS/1.
MC4-EVO 2 : fixation par vis
Insérer le boîtier de l’embase ou du
connecteur de MC4-EVO 2 dans
l’ouverture de montage (support) de
PC-MS-PLS/1 et visser l’écrou borg-
ne au moyen de la clé polygonale de
PV-MS-PLS/2.
Remarque:
Vous trouverez plus de détails sur
le vissage de l’écrou borgne sur le
connecteur dans la notice de mon-
tage MA231 (MC4) et MA273 (MC4-
EVO 2).
(ill. 7)
Screw fixing of MC4
Insert the housing of the
MC4 socket or
plug in the assembly opening (holder)
of the
PV-MS-PLS/2 and screw on the
cap nut with the ring spanner of the
PV-MS-PLS/1.
Screw fixing of MC4-EVO 2
Insert the housing of the MC4-EVO 2
socket or plug in the assembly opening
(holder) of the PC-MS-PLS/1 and screw
on the cap nut with the ring spanner of
the PV-MS-PLS/2.
Note:
Further details on screwing the cap
nut onto the plug connector are given
in the assembly instructions MA231
(MC4) and MA273 (MC4-EVO 2).
Mauvais usage
Misuse
(ill. 8)
N’insérez pas les pointes de dé-
verrouillage de
PV-MS-PLS/1 et
PV-MS-PLS/2 dans des fiches ou
douilles des connecteurs MC.
(ill. 8)
Do not Insert the unlocking pins of
PV-MS-PLS/1 and PV-MS-PLS/2 in
sockets or plugs of the MC plug con-
nectors.
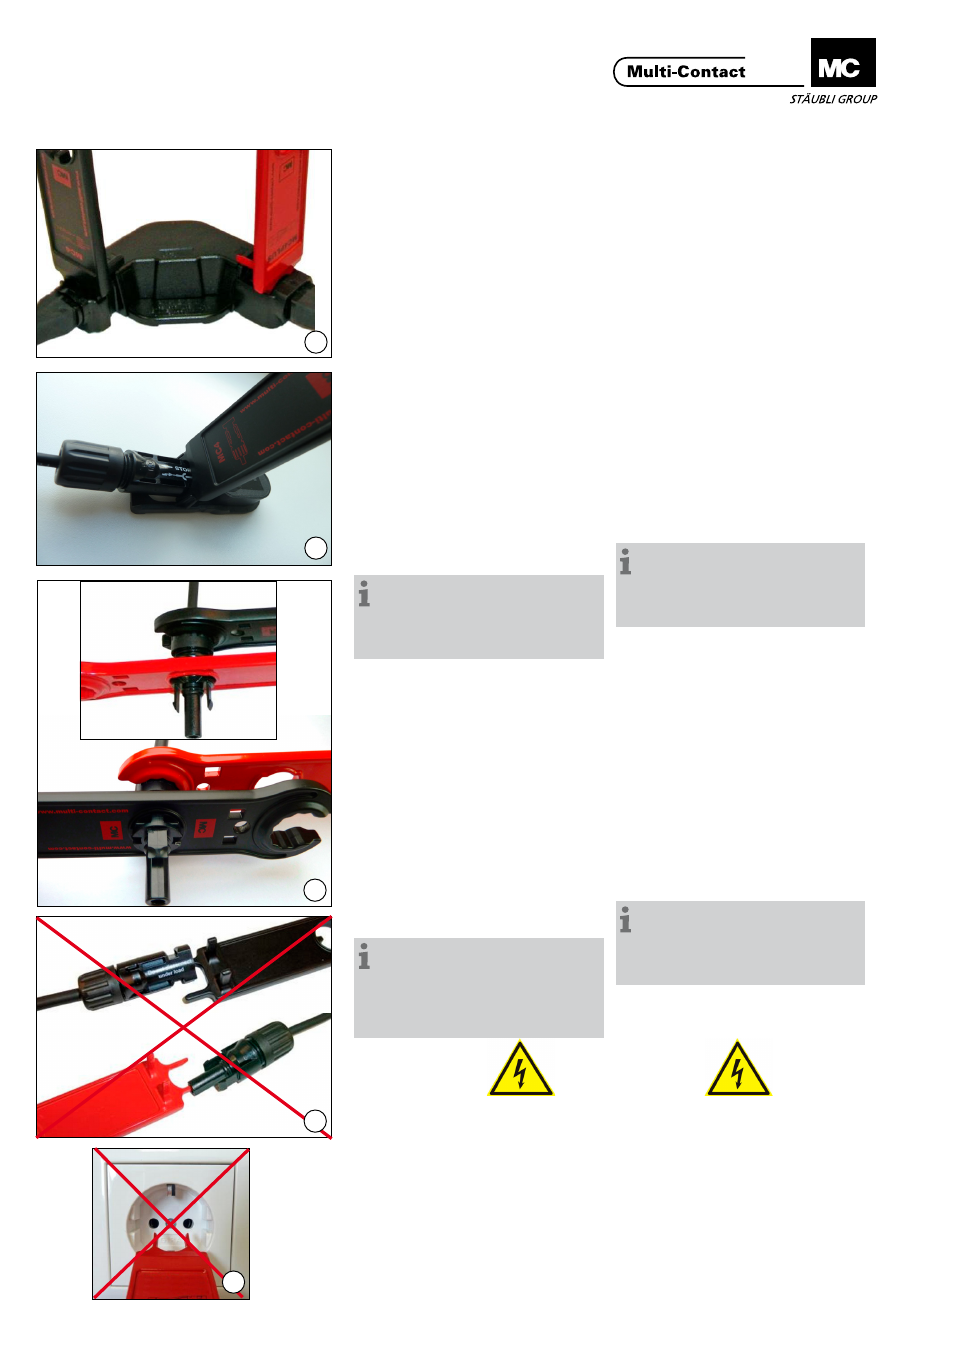
(ill. 9)
N’insérez pas les pointes de dé-
verrouillage de
PV-MS-PLS/1 et
PV-MS-PLS/2 dans les ouvertures
d’une prise de courant.
(ill. 9)
Do not insert the unlocking pins of the
PV-MS-PLS/2 and PV-MS-PLS/2 into
the openings of a mains power outlet.
© b
y Multi-Contact A
G, Switz
erland – MA270 – 10.2014, Inde
x e
, Global Communications – Änderungen v
orbehalten / Subject to alterations