K managing custom probe setups – Casio GRAPH 25+ Pro Manuel d'utilisation
Page 372
20051101
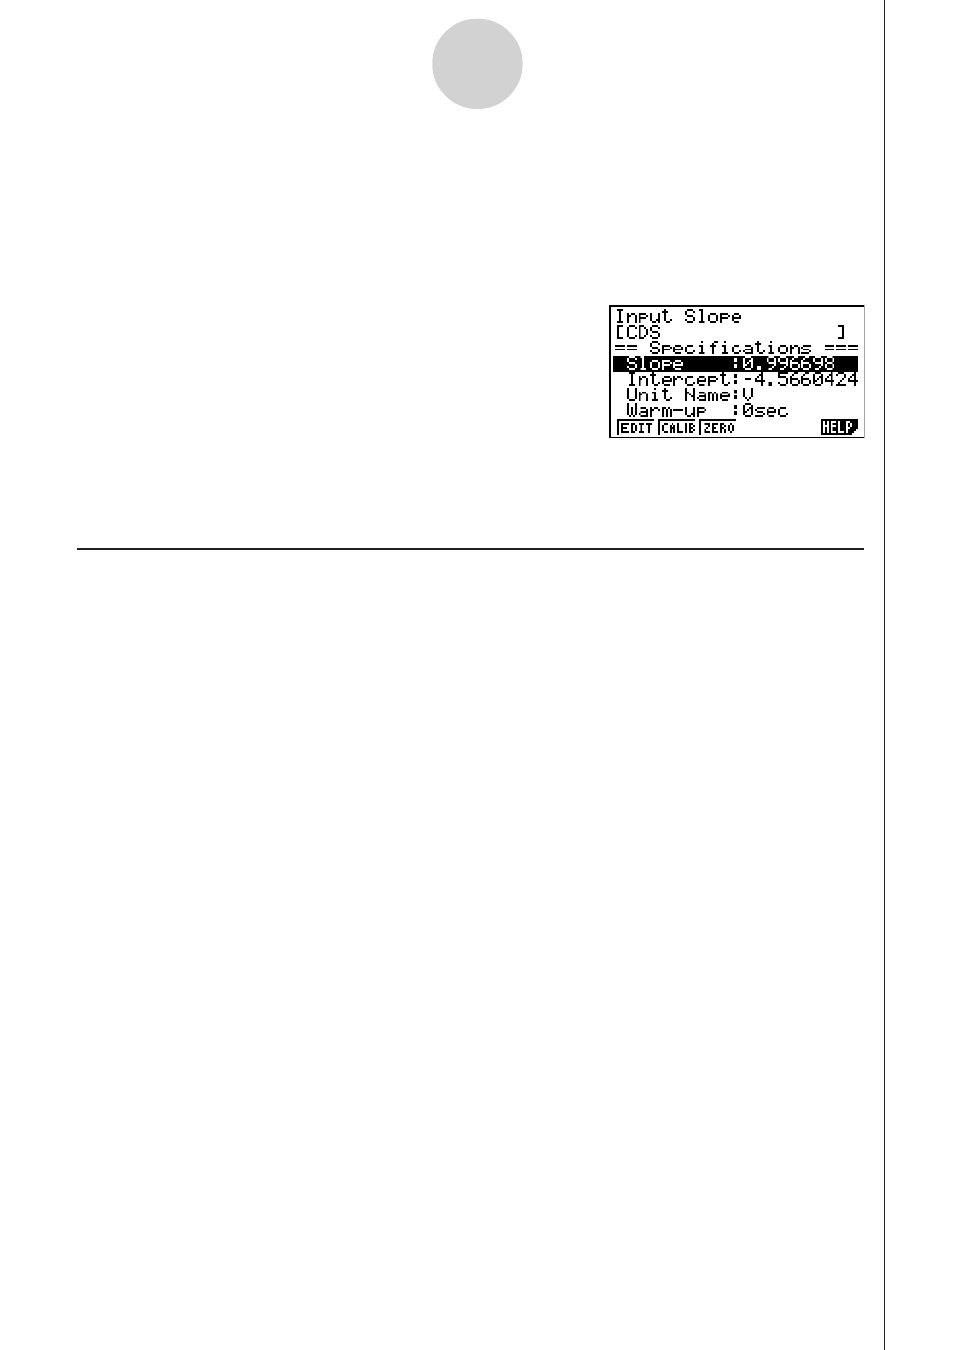
4. At the point your want to perform zero adjustment (the point that the displayed value is
the appropriate zero adjust value), press
w.
• This will return to the custom probe setup screen.
• The E-CON2 will set the intercept value automatically based on the sampled value. The
automatically configured value will appear on the custom probe setup screen, where you
can view it.
5. Press
w, and then input a memory number from 1 to 99.
• This saves the custom probe setup and returns to the custom probe list.
k Managing Custom Probe Setups
Use the procedures in this section to edit and delete existing custom probe setups.
u
To edit a custom probe setup
1. Display the Custom Probe List.
2. Select the custom probe setup whose configuration you want to edit.
• Use the
f and c cursor keys to highlight the name of the custom probe you want.
3. Press
3(EDIT).
• This displays the screen for configuring a custom probe setup.
• To edit the custom probe setup, perform the procedure starting from step 6 under “To
configure a custom probe setup” on page 4-1.
u
To delete a custom probe setup
1. Display the Custom Probe List.
2. Select the custom probe setup you want to delete.
• Use the
f and c cursor keys to highlight the name of the custom probe setup you
want.
3. Press
4(DEL).
4. In response to the confirmation message that appears, press
1(Yes) to delete the
custom probe setup.
• To clear the confirmation message without deleting anything, press
6(No).
4-6
Using a Custom Probe
20070101