Casio GRAPH 25+ Pro Manuel d'utilisation
Page 348
20051101
2-6
Using the Setup Wizard
k Using Setup Wizard to Configure a PhotoGate Setup
Connection of a Vernier PhotoGate requires configuration of setup parameters that are
slightly different from parameters for other types of sensors.
u
u
u
u
u
To configure a setup for PhotoGate alone
1. Perform the first two steps of the procedure under “To configure an EA-200 setup using
Setup Wizard” on page 2-2.
2. On the “Select Sensor” screen, select [VERNIER] - [Photogate] - [Gate].
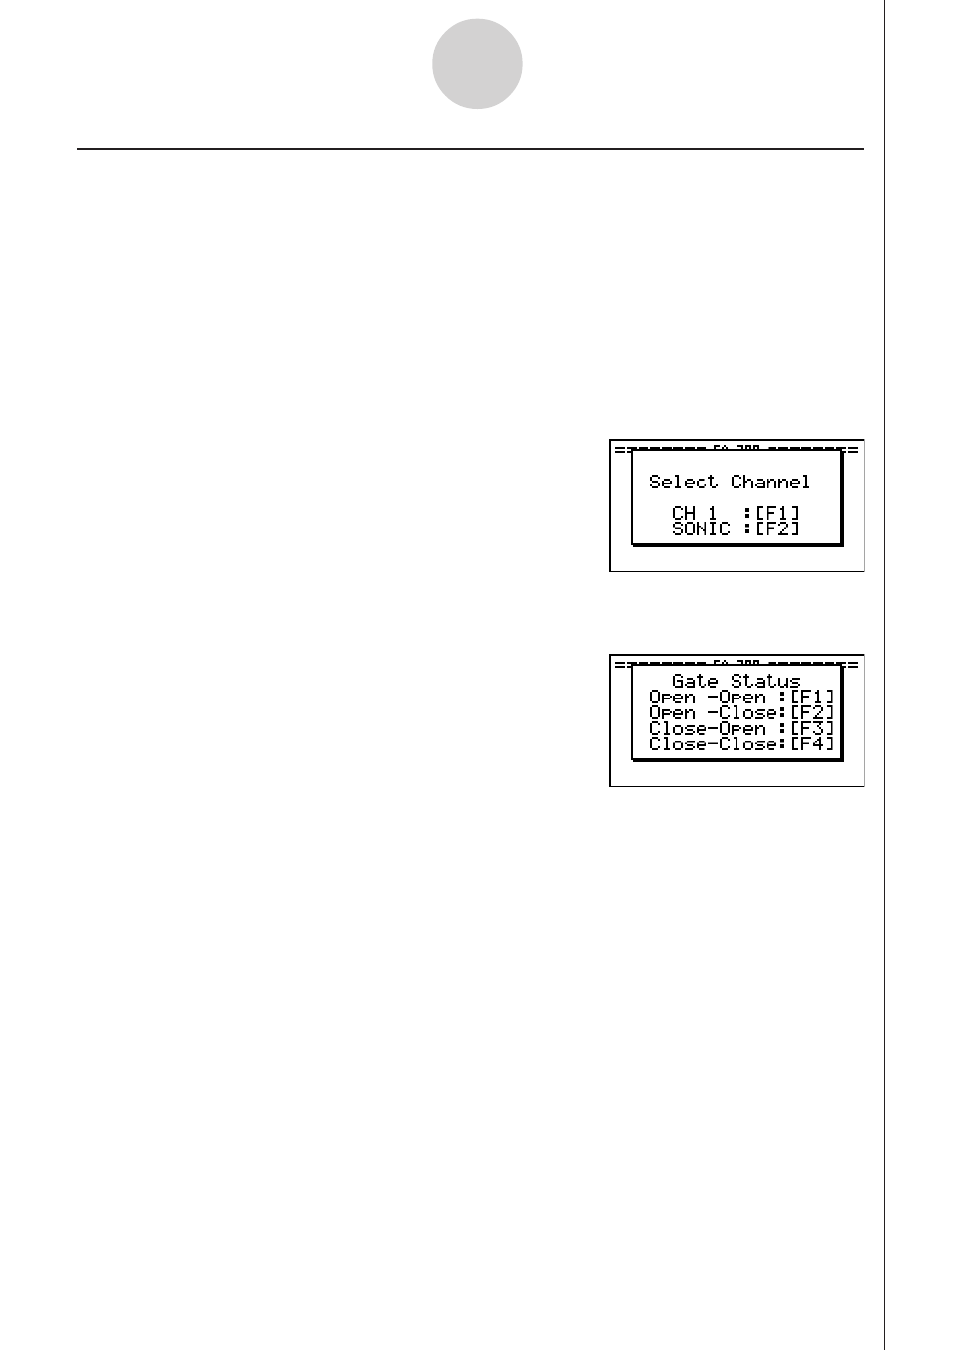
• This displays a screen where you specify whether PhotoGate is connected to the CH1
or SONIC channel.
3. Press
1 to specify CH1 or 2 to specify SONIC.
• This causes a “Gate Status” screen to appear.
• “Open” means the photo path is not blocked, while “Close” means the photo path is
blocked.
• The gate status defines what PhotoGate status should cause timing to start, and what
status should cause timing to stop.
Open-Open ...... Timing starts when the gate opens, and continues until it closes and
then opens again.
Open-Close ...... Timing starts when the gate opens, and continues until it closes.
Close-Open ...... Timing starts when the gate closes, and continues until it opens.
Close-Close ...... Timing starts when the gate closes, and continues until it opens and
then closes again.